Edit List
Summary: This document outlines how to use the Faculty Self Service to update a list's name and duration.
Overview
With the Faculty Self Service feature enabled, faculty staff are able to easily change a list’s name as well as the list start and end dates. While librarians are able to adjust the start and end dates of individual requests, this feature can be used to change both the list and requests dates all at once.
Editing the list name
Use the following steps to rename a list within a course:
-
On the list toolbar, click ‘Edit’ to bring up the 'Editing list' menu.

Figure 1 : The Edit button in the list toolbar 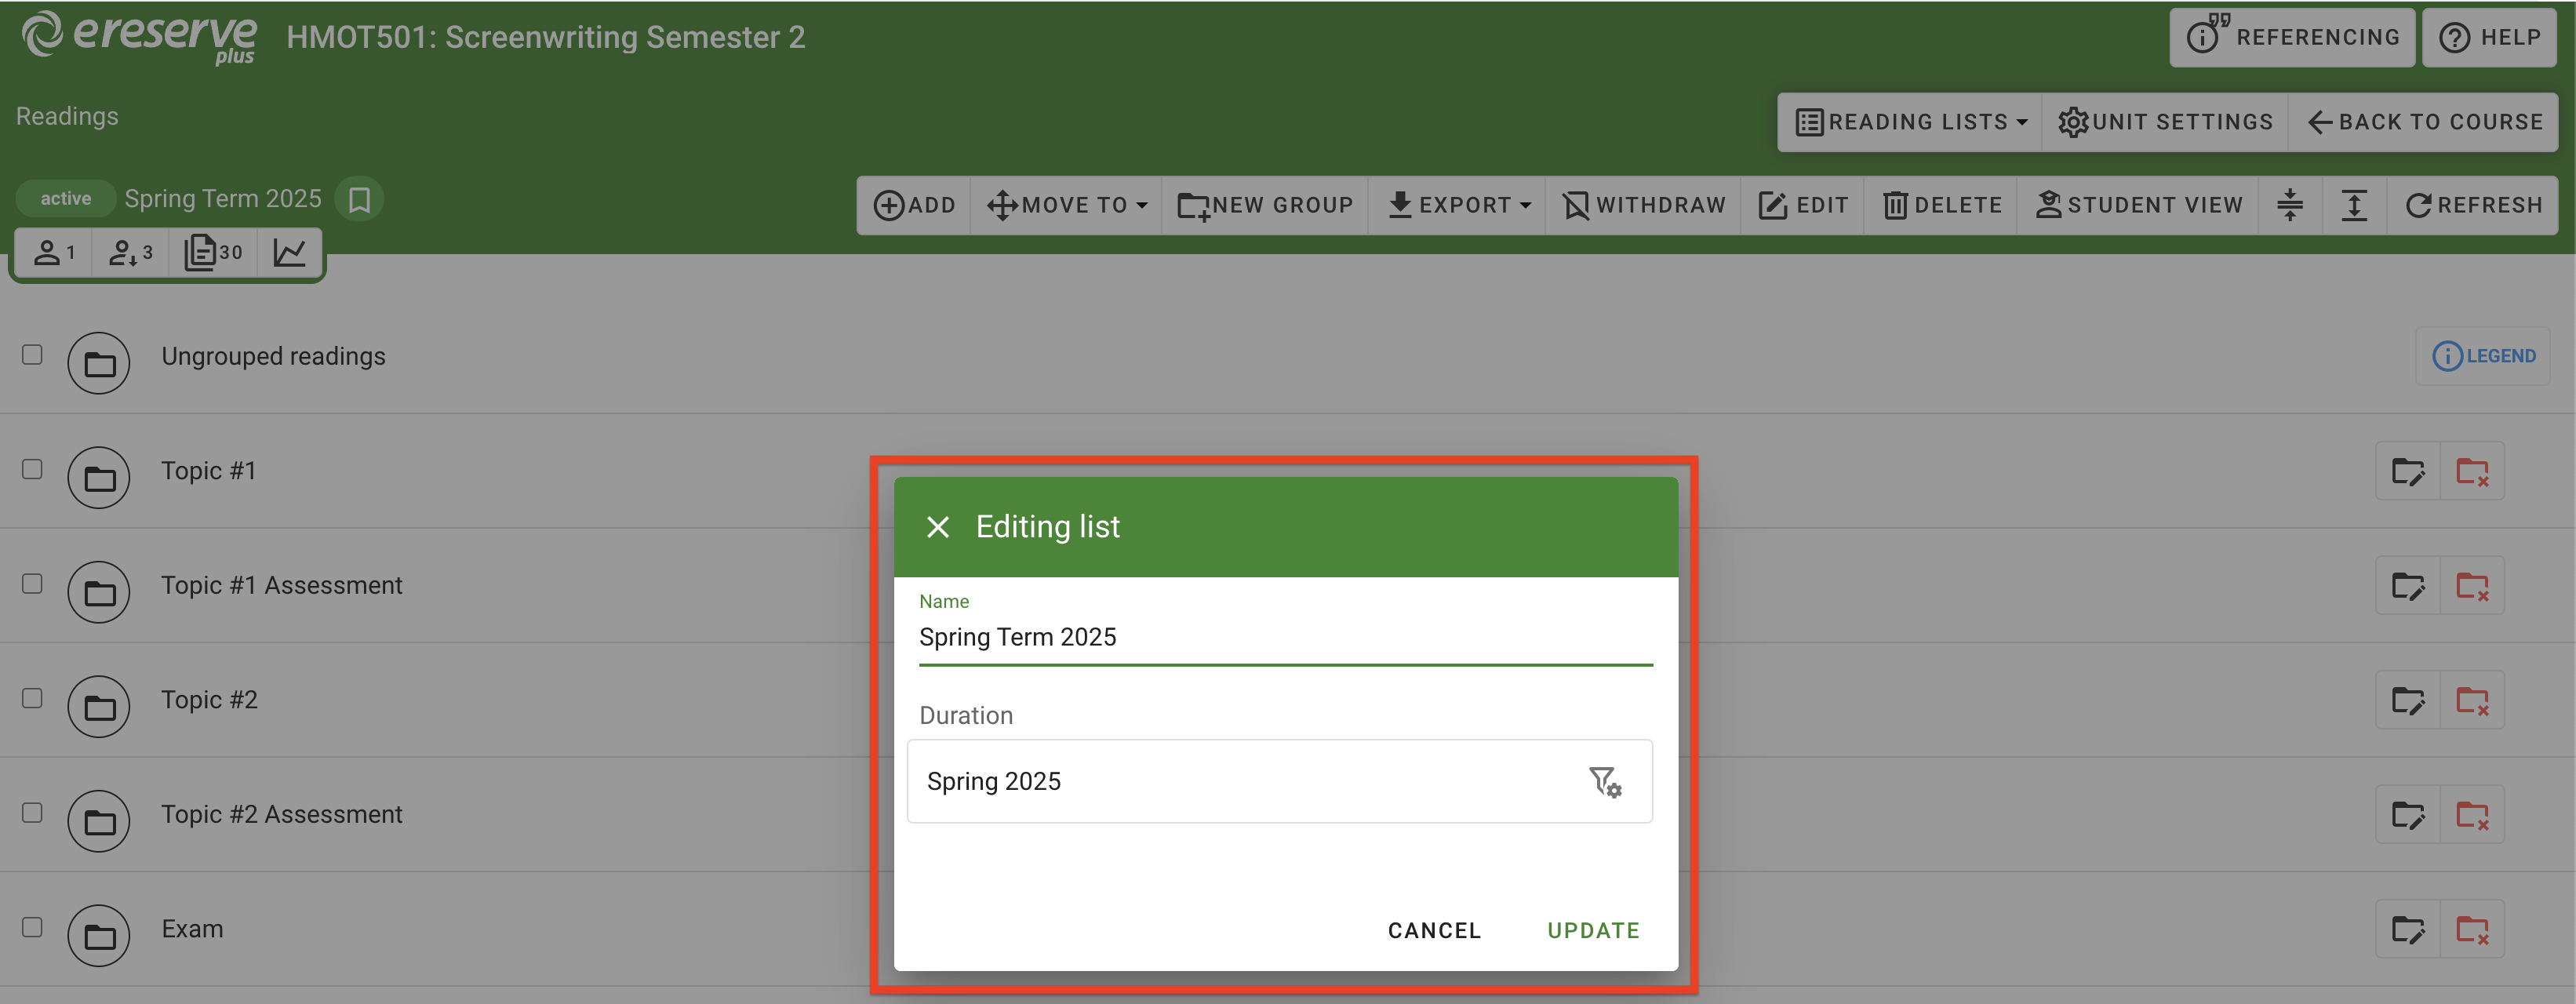
Figure 2 : The Editing List menu window -
Type in the Name field to rename the list. If the name is an exact match against another list within the same course, a message will advise the name is already in use.
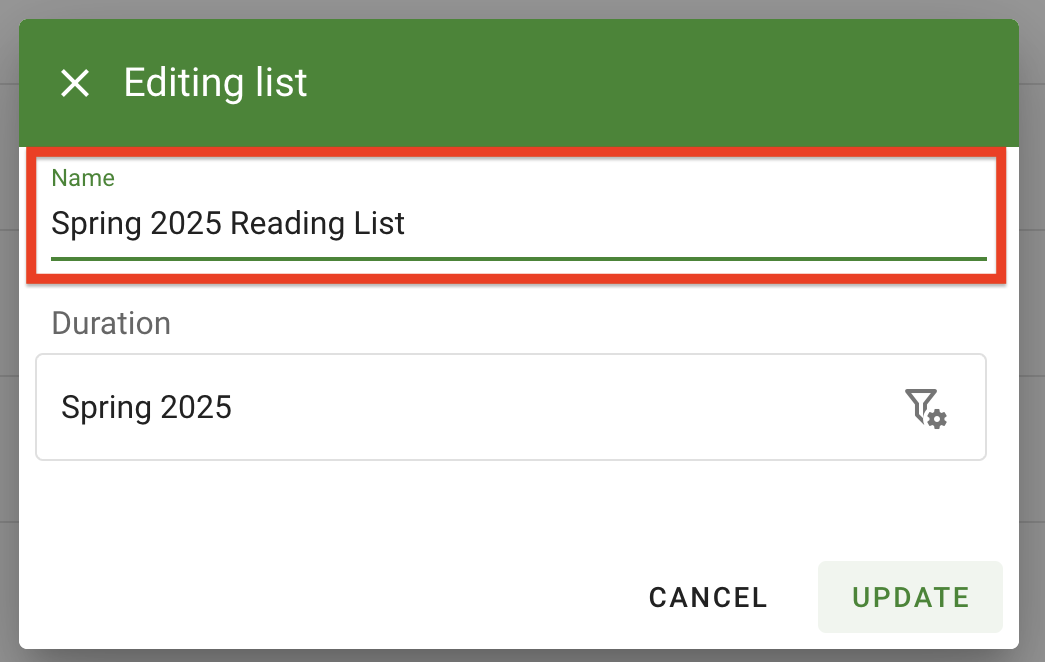
Figure 3 : Renaming a list -
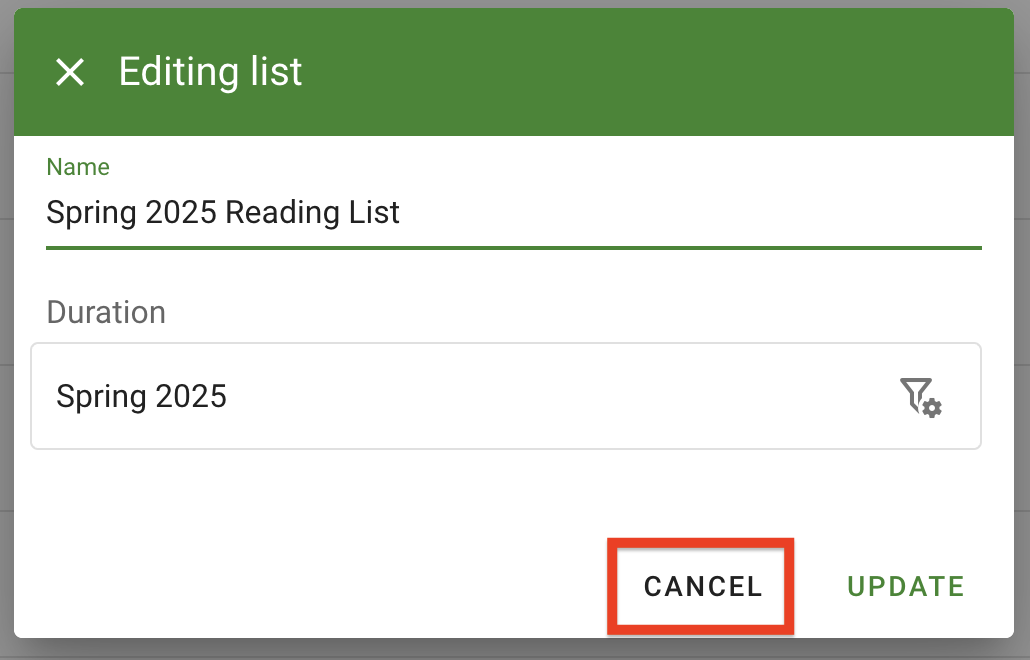
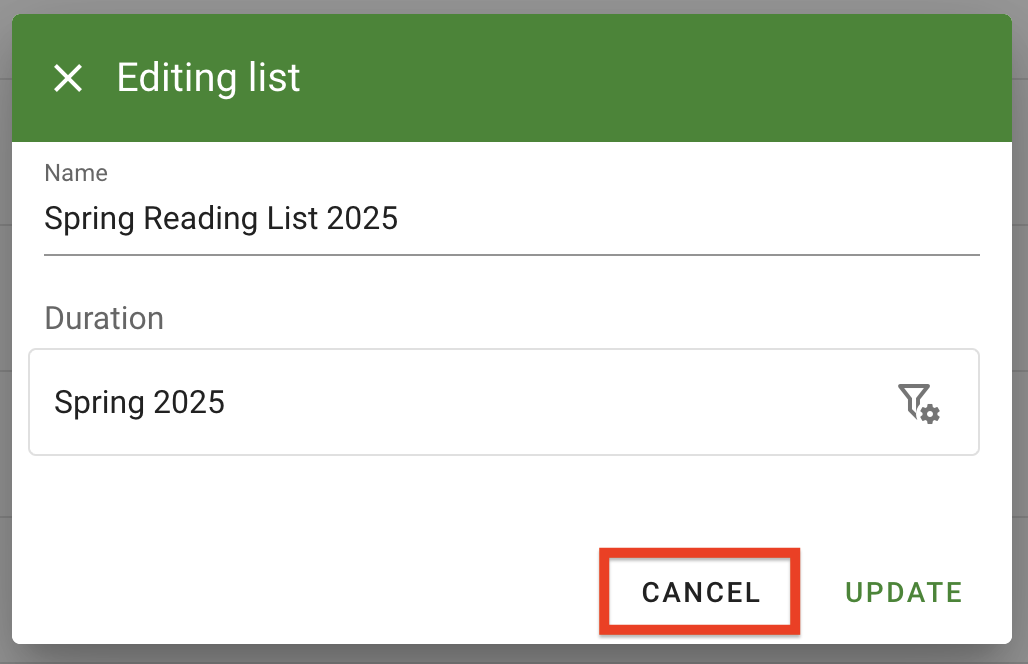
Click 'Update' to save your changes.
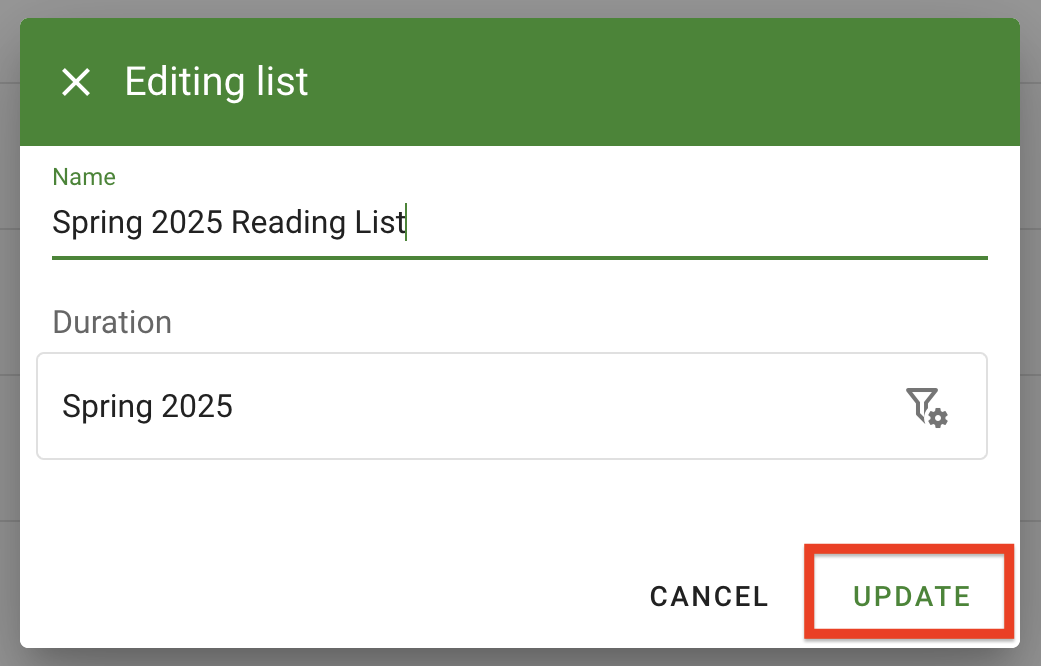
Figure 4 : The update button to save changes
Editing the list duration
The list start and end dates can easily be adjusted and any changes to the duration dates will be automatically applied to existing requests in the list. Please note that any requests that have already been approved with dates different from the list dates will be unaffected and may require a librarian to manually review.
Selecting an existing Teaching Session
Use the following steps to select a current or future predefined duration, also known as teaching sessions:
-
On the list toolbar, click ‘Edit’ to bring up the 'Editing list' menu.

Figure 6 : The Edit button in the list toolbar 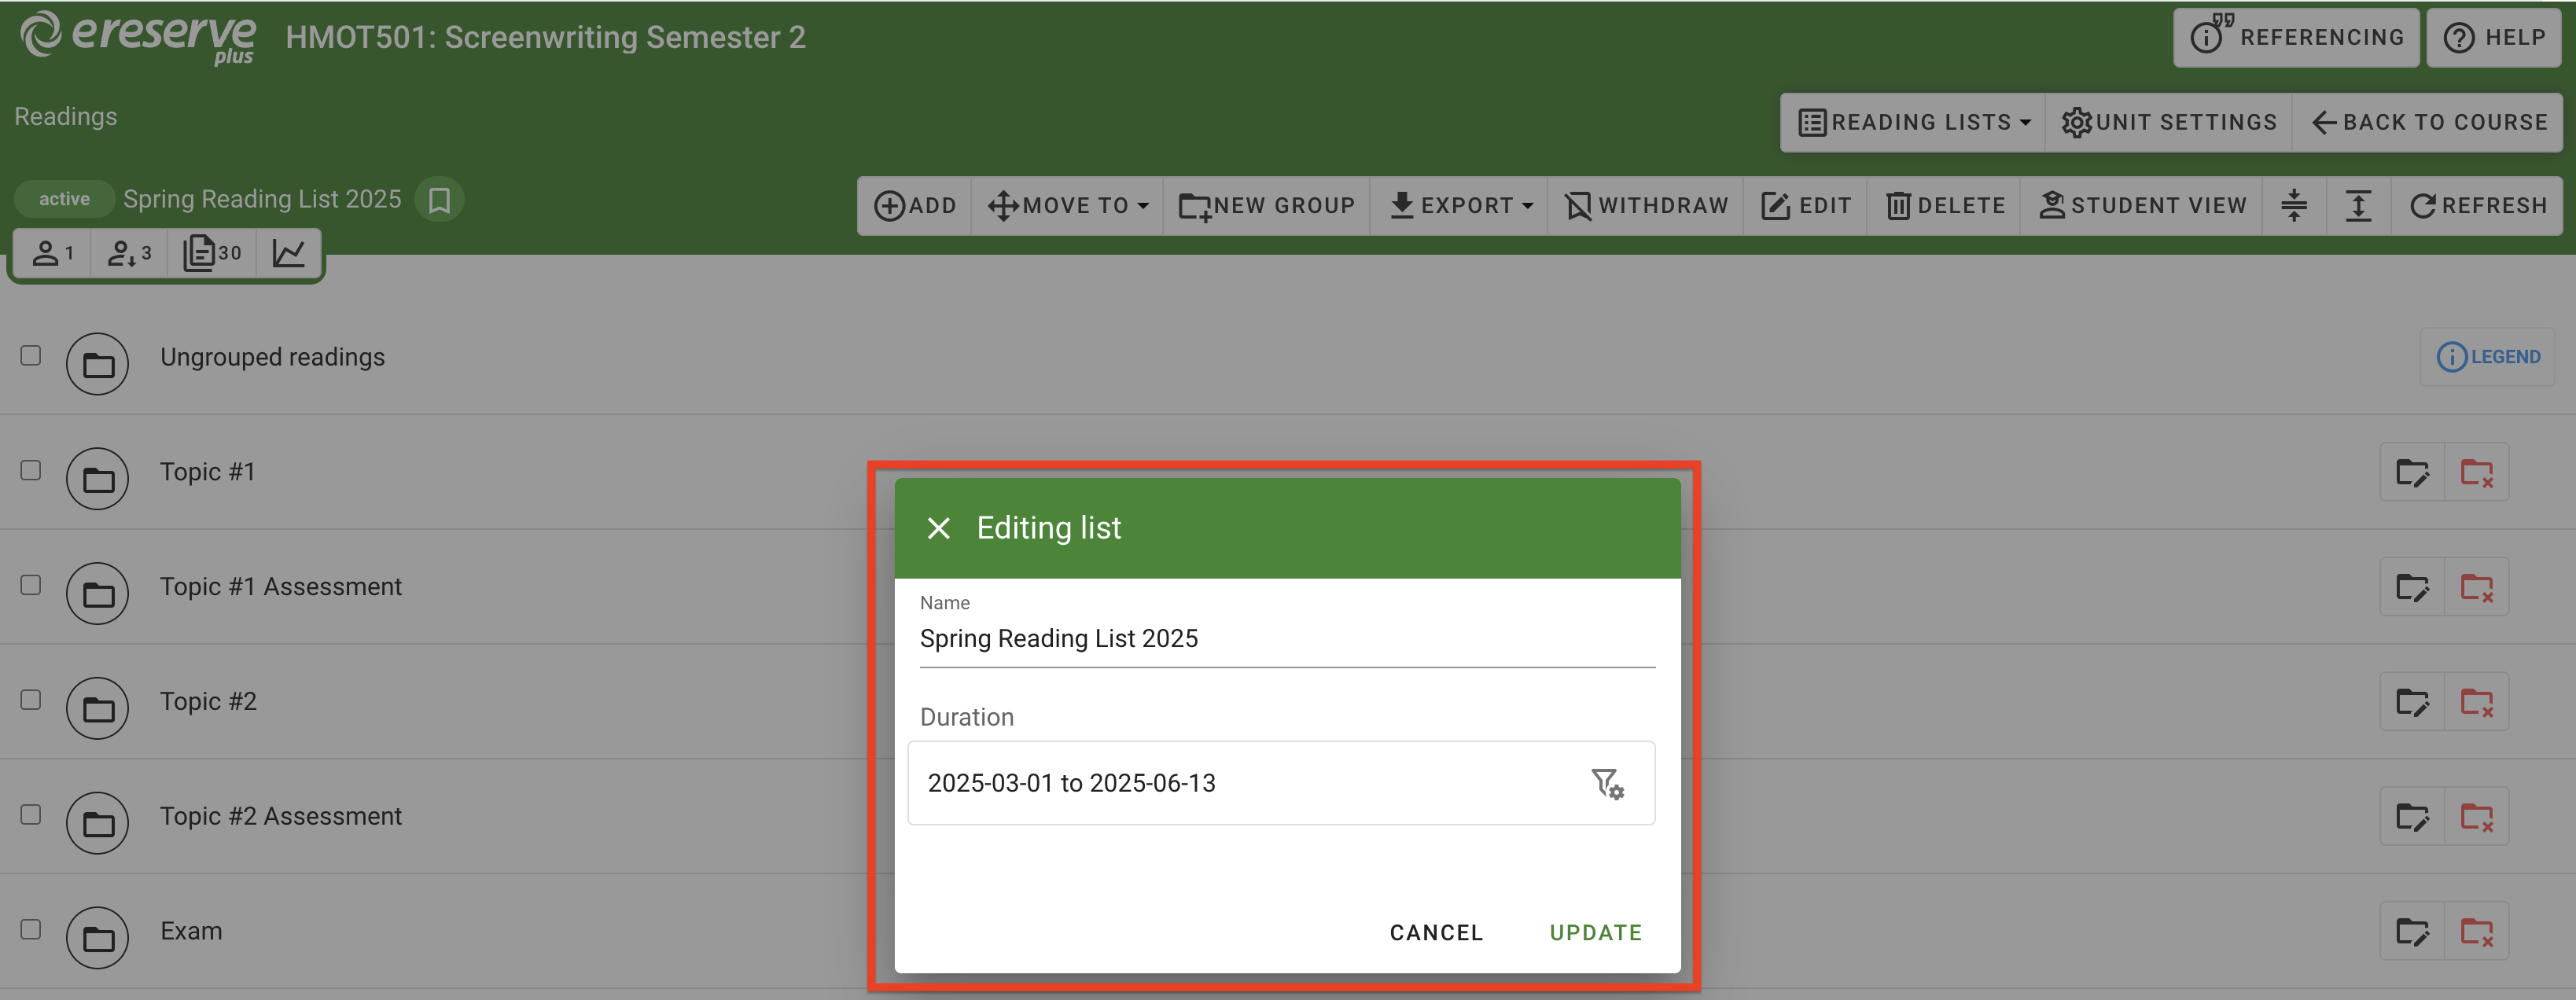
Figure 7 : The Editing List menu window -
In the Duration section, click the icon on the right of the current duration to expand the options.
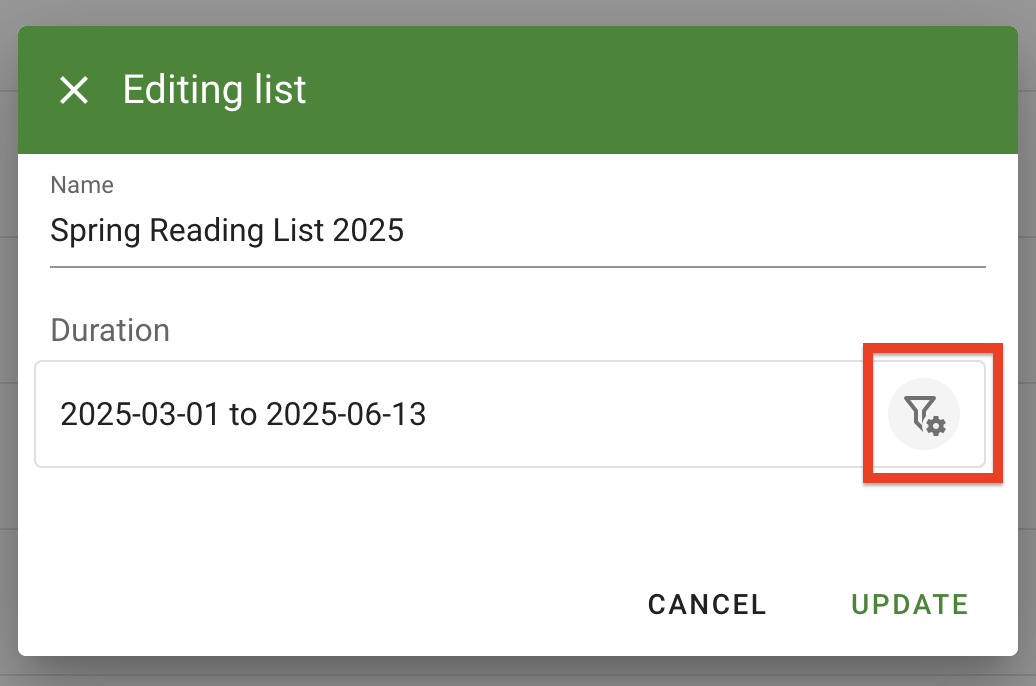
Figure 8 : The duration configuration button -
Confirm the top field displays Teaching Session. If 'Custom' is displayed, click on the field to select Teaching session instead.
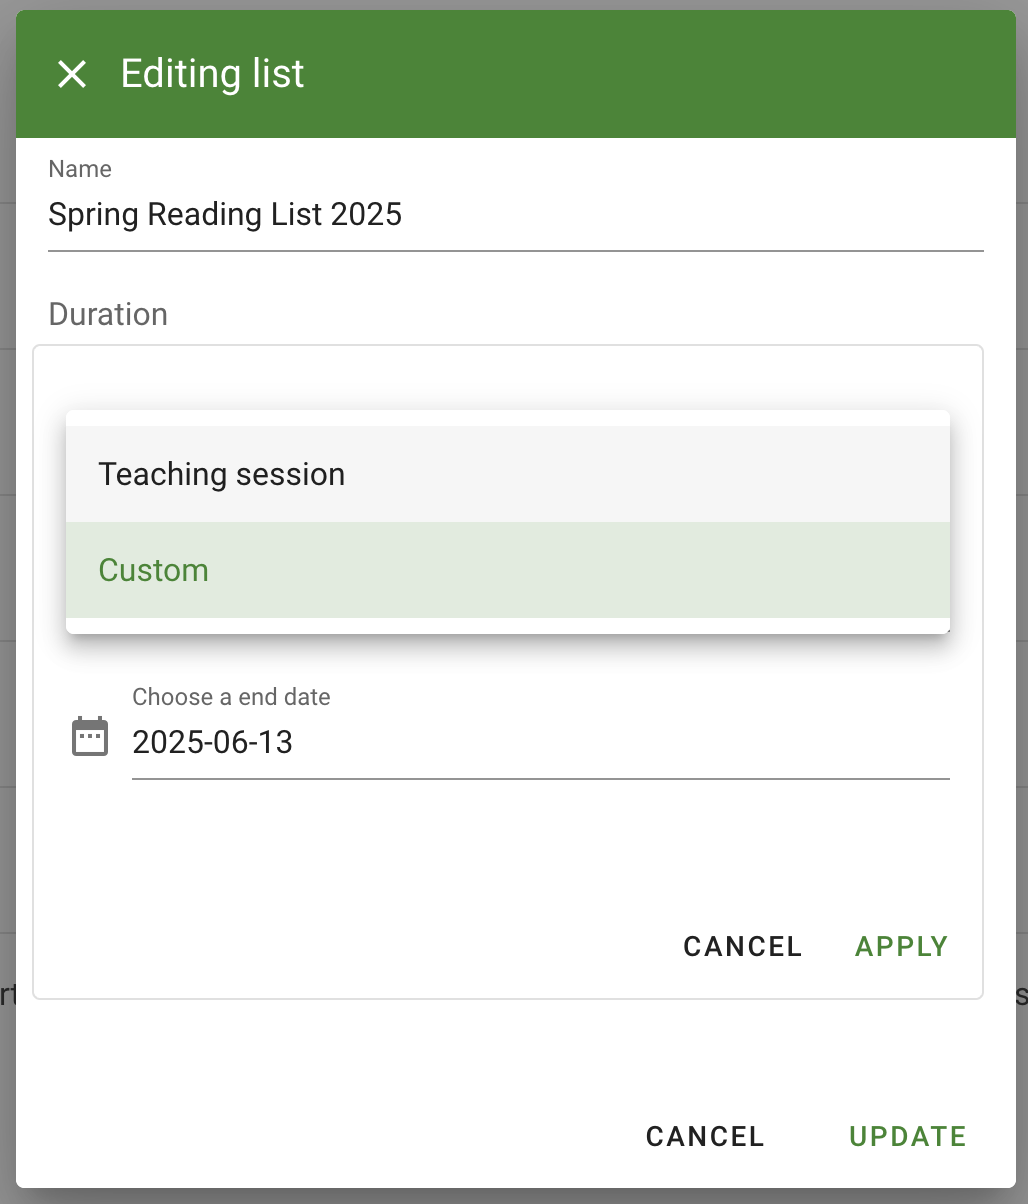
Figure 9 : The duration type dropdown 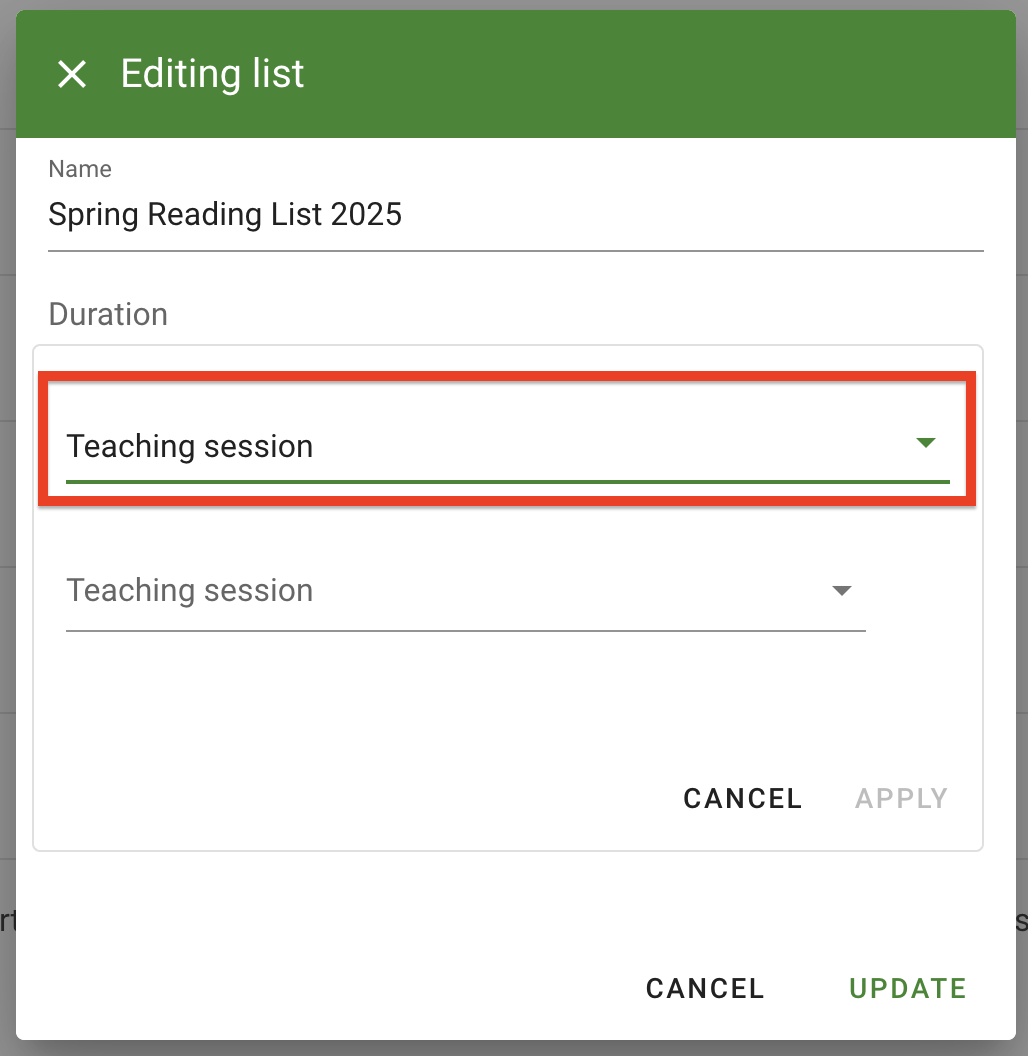
Figure 10 : Teaching Session is selected -
Click on the bottom field Teaching session dropdown, then select the desired Teaching session in the list.
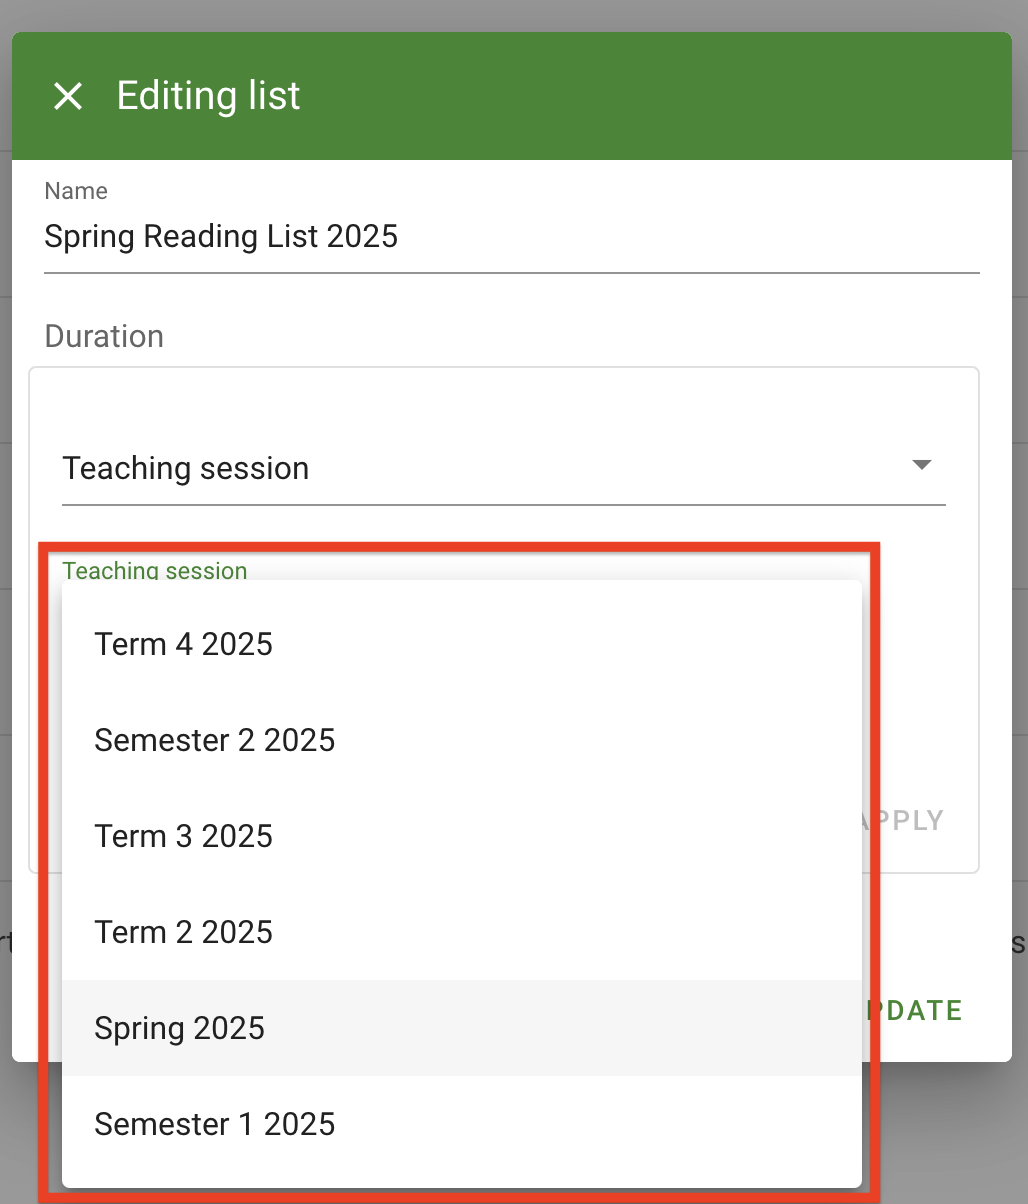
Figure 11 : The Teaching Session selection dropdown -
Click 'Apply' in the Duration panel to save changes.
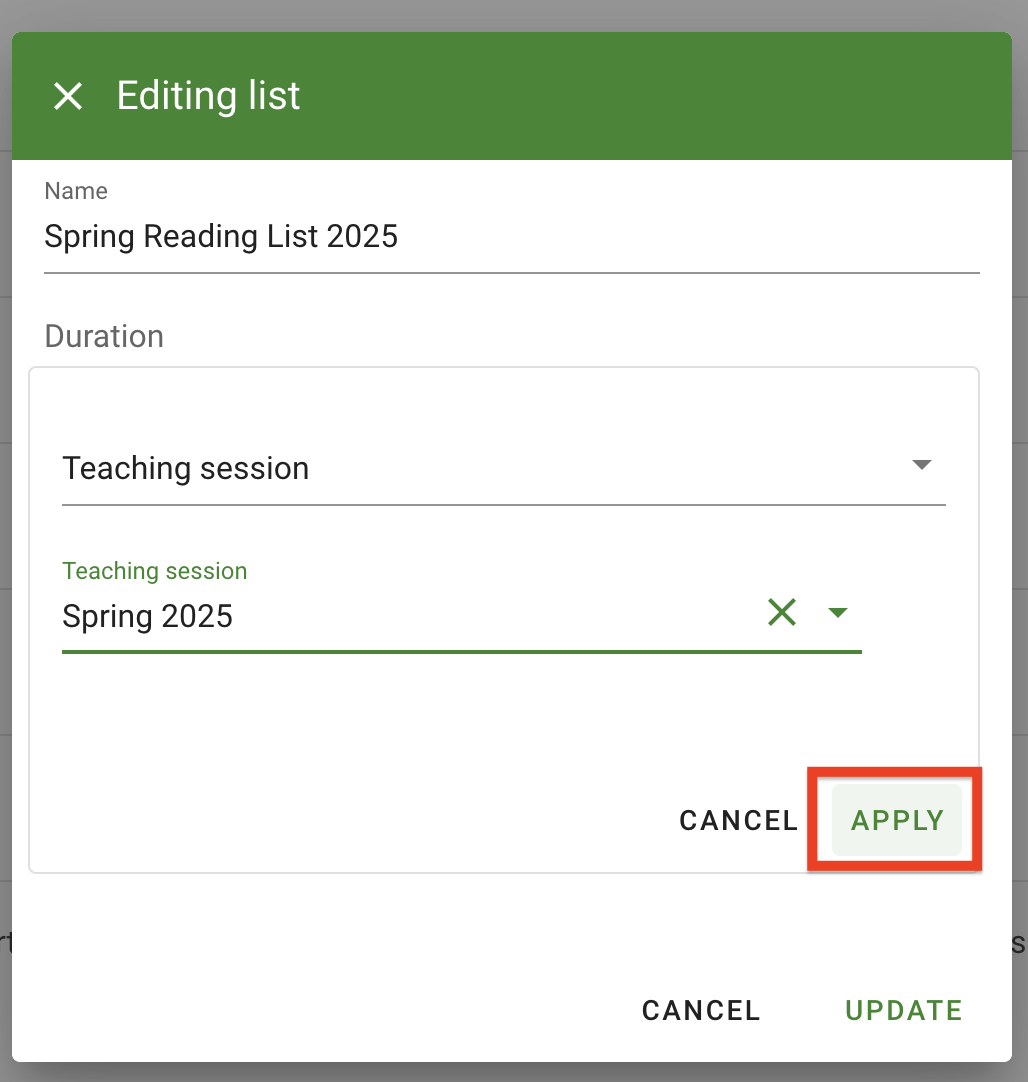
Figure 12 : Click the Apply button to save the duration changes -
Click 'Update' on the bottom right of the Editing List dialogue box to apply the changes to the list.
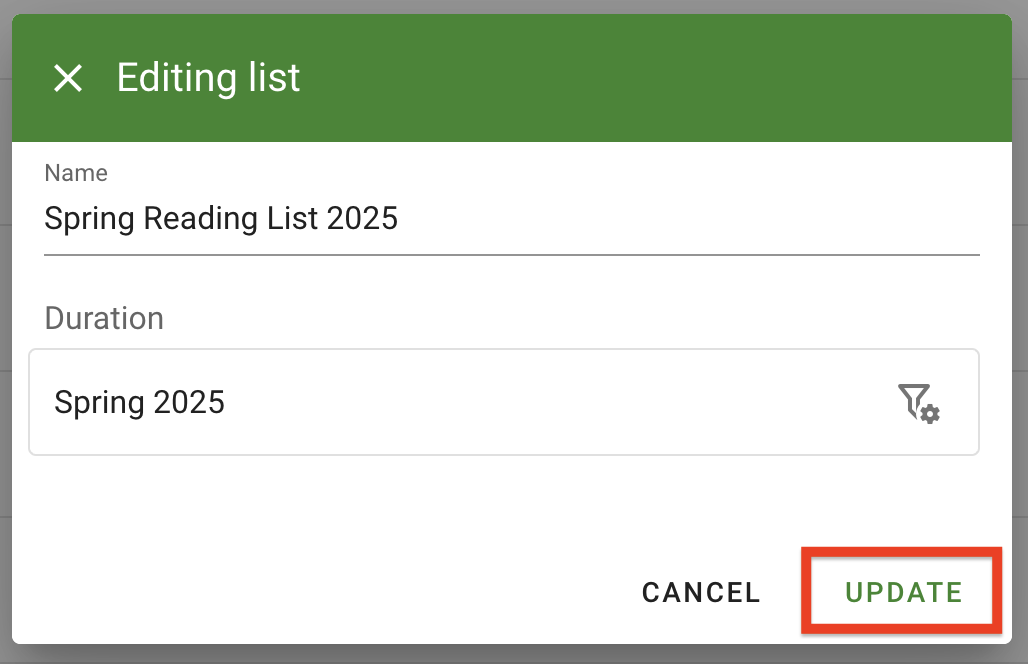
Figure 13 : Click the Update button to apply changes to the list
Selecting custom dates
Use the following steps to select a custom date for a list:
-
On the list toolbar, click ‘Edit’ to bring up the 'Editing list' menu.

Figure 15 : The Edit button in the list toolbar 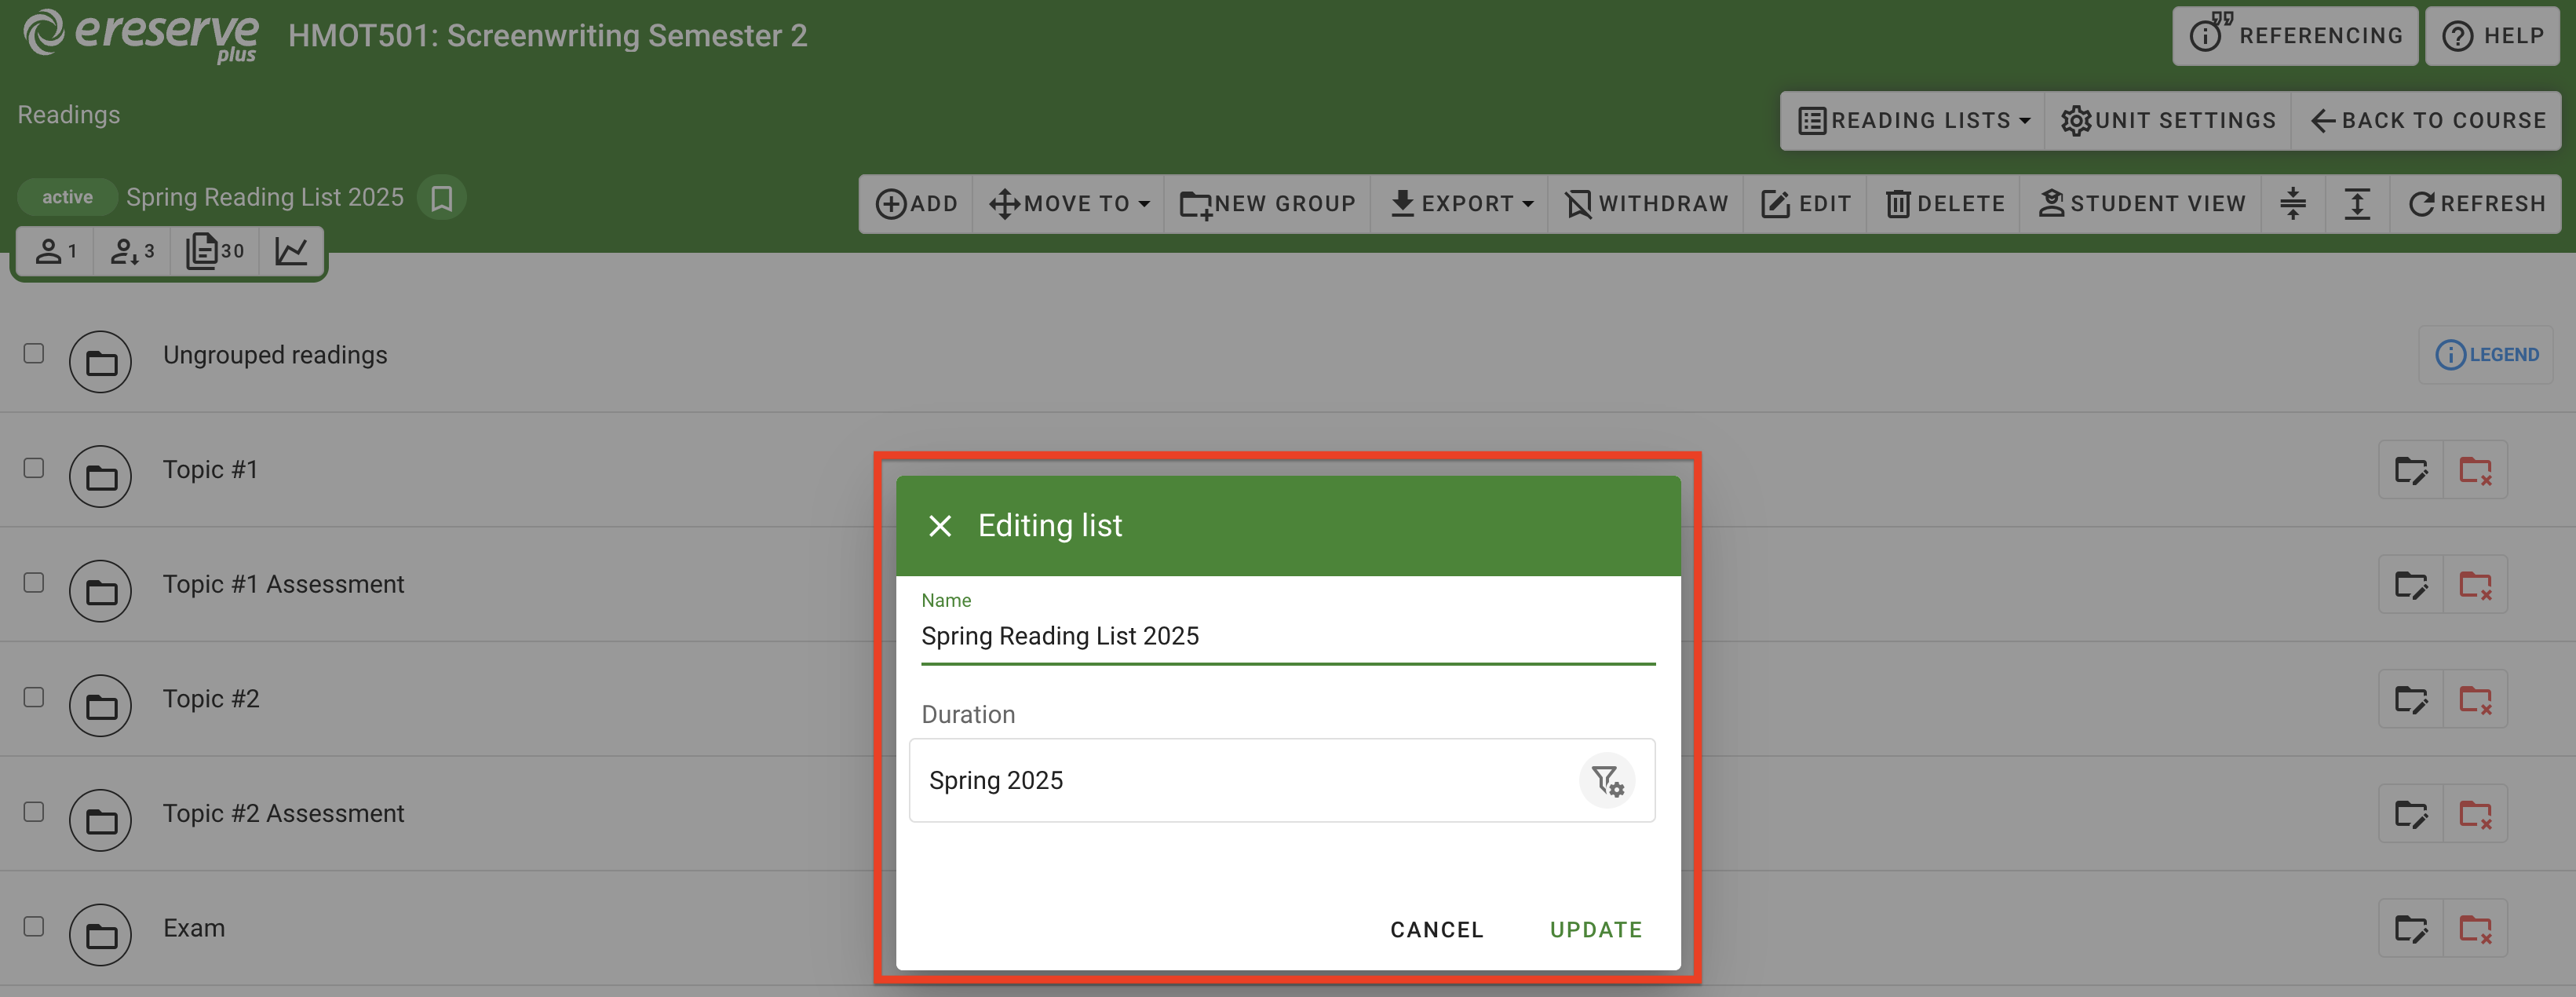
Figure 16 : The Editing List menu window -
In the Duration section, click the icon on the right of the current duration to expand the options.
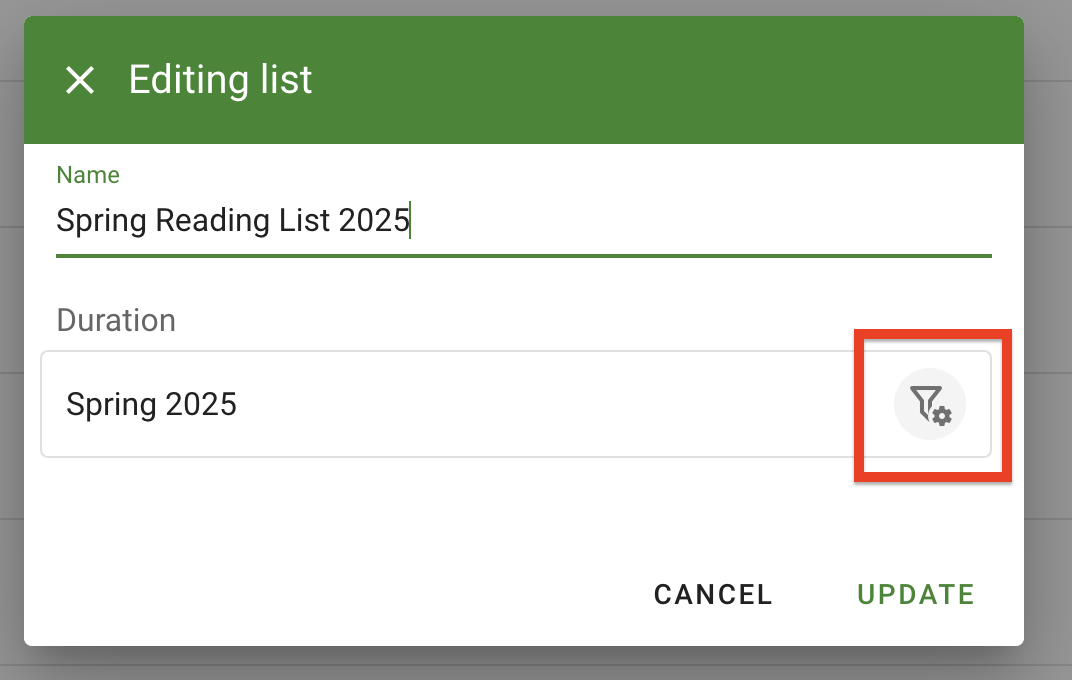
Figure 17 : The duration configuration button -
Confirm the top field displays 'Custom'. If 'Teaching Session' is displayed, click on the field to select 'Custom' instead.
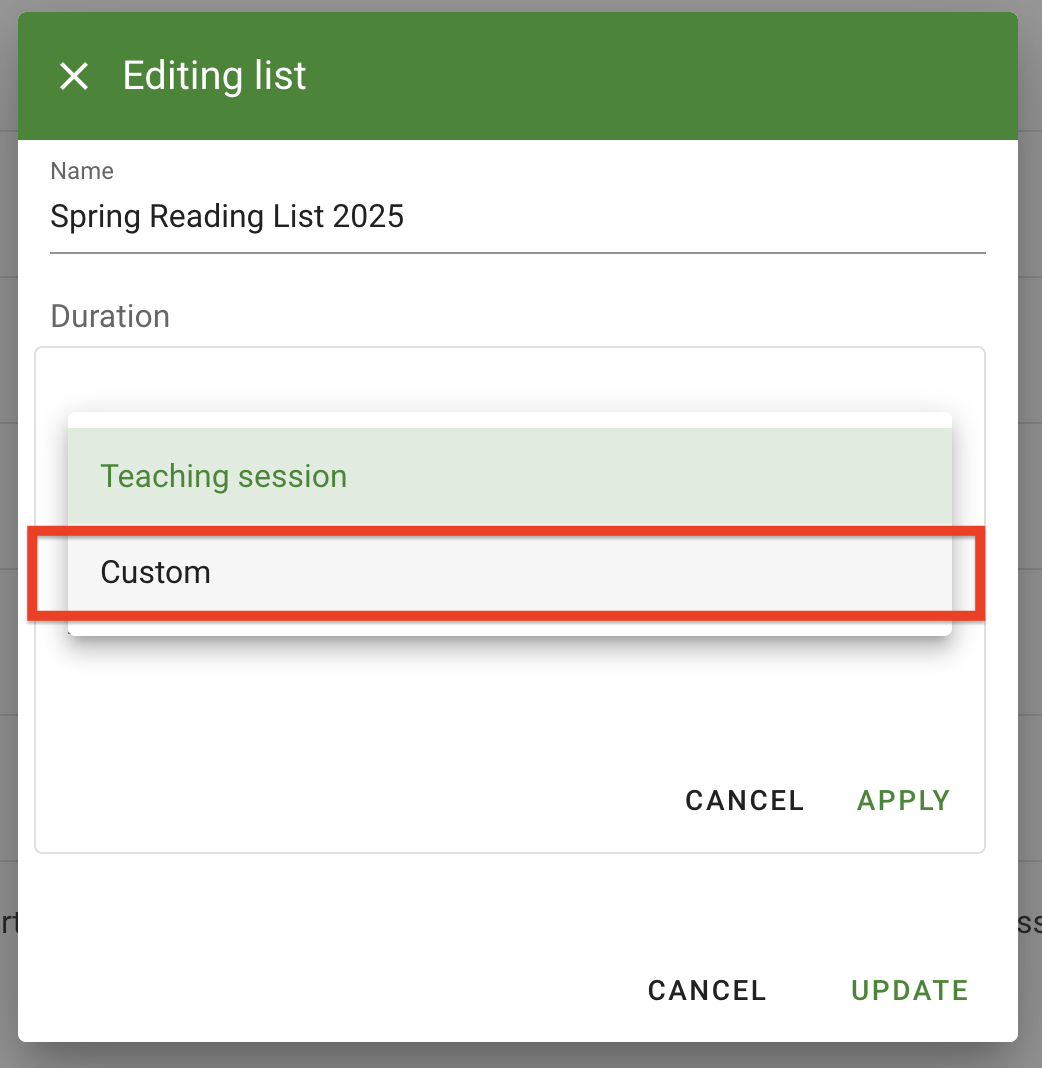
Figure 18 : The duration type dropdown 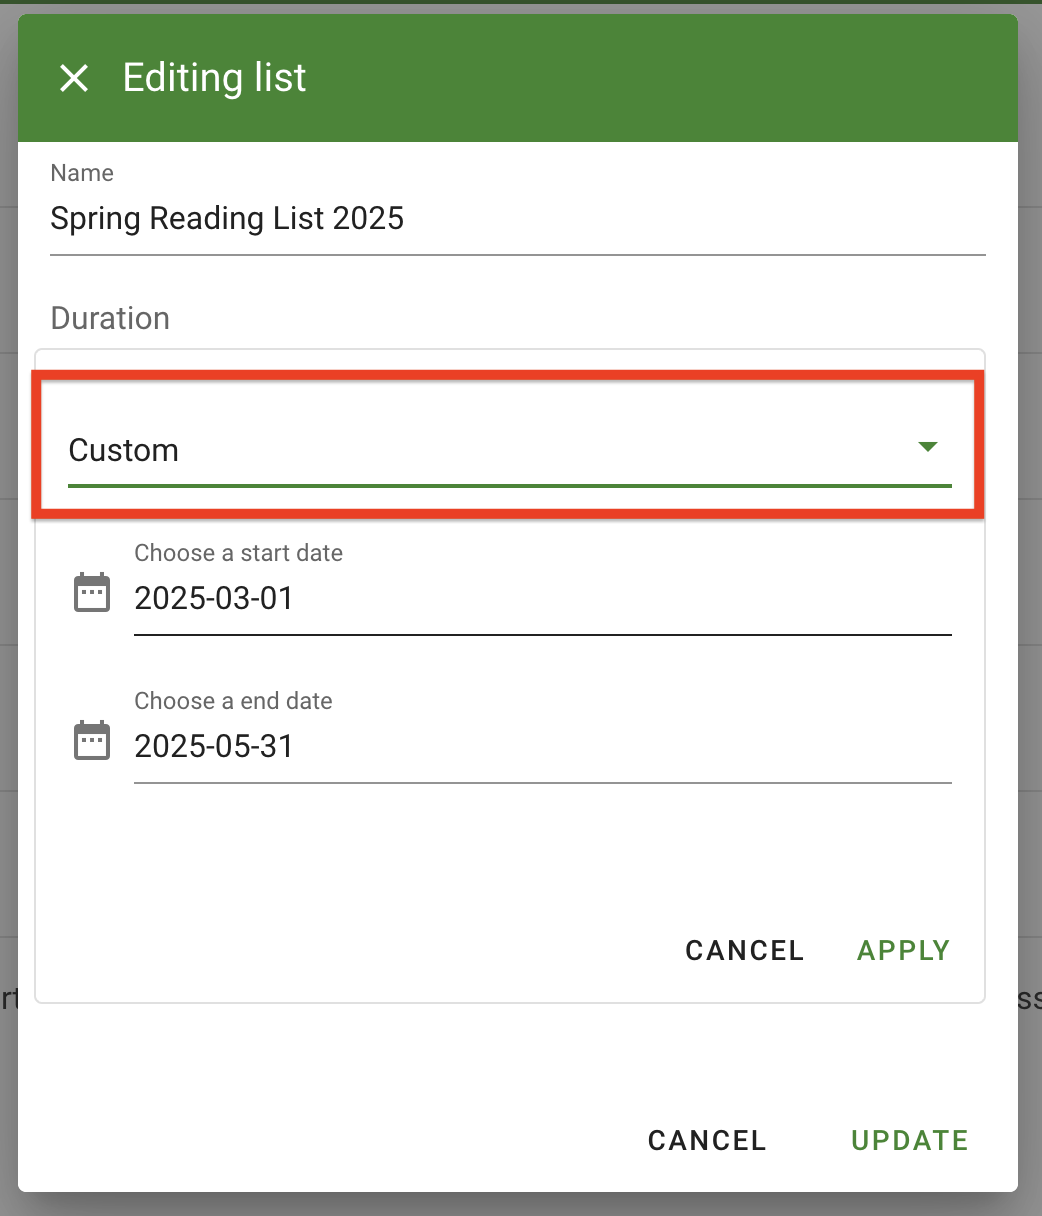
Figure 19 : Custom is now selected -
Update the start and/or end date to a date of your choosing. This can be done by either clicking on the field and selecting a new date from the pop-up calendar. Alternatively, you can type the date directly into the text field, using the YYYY-MM-DD format.
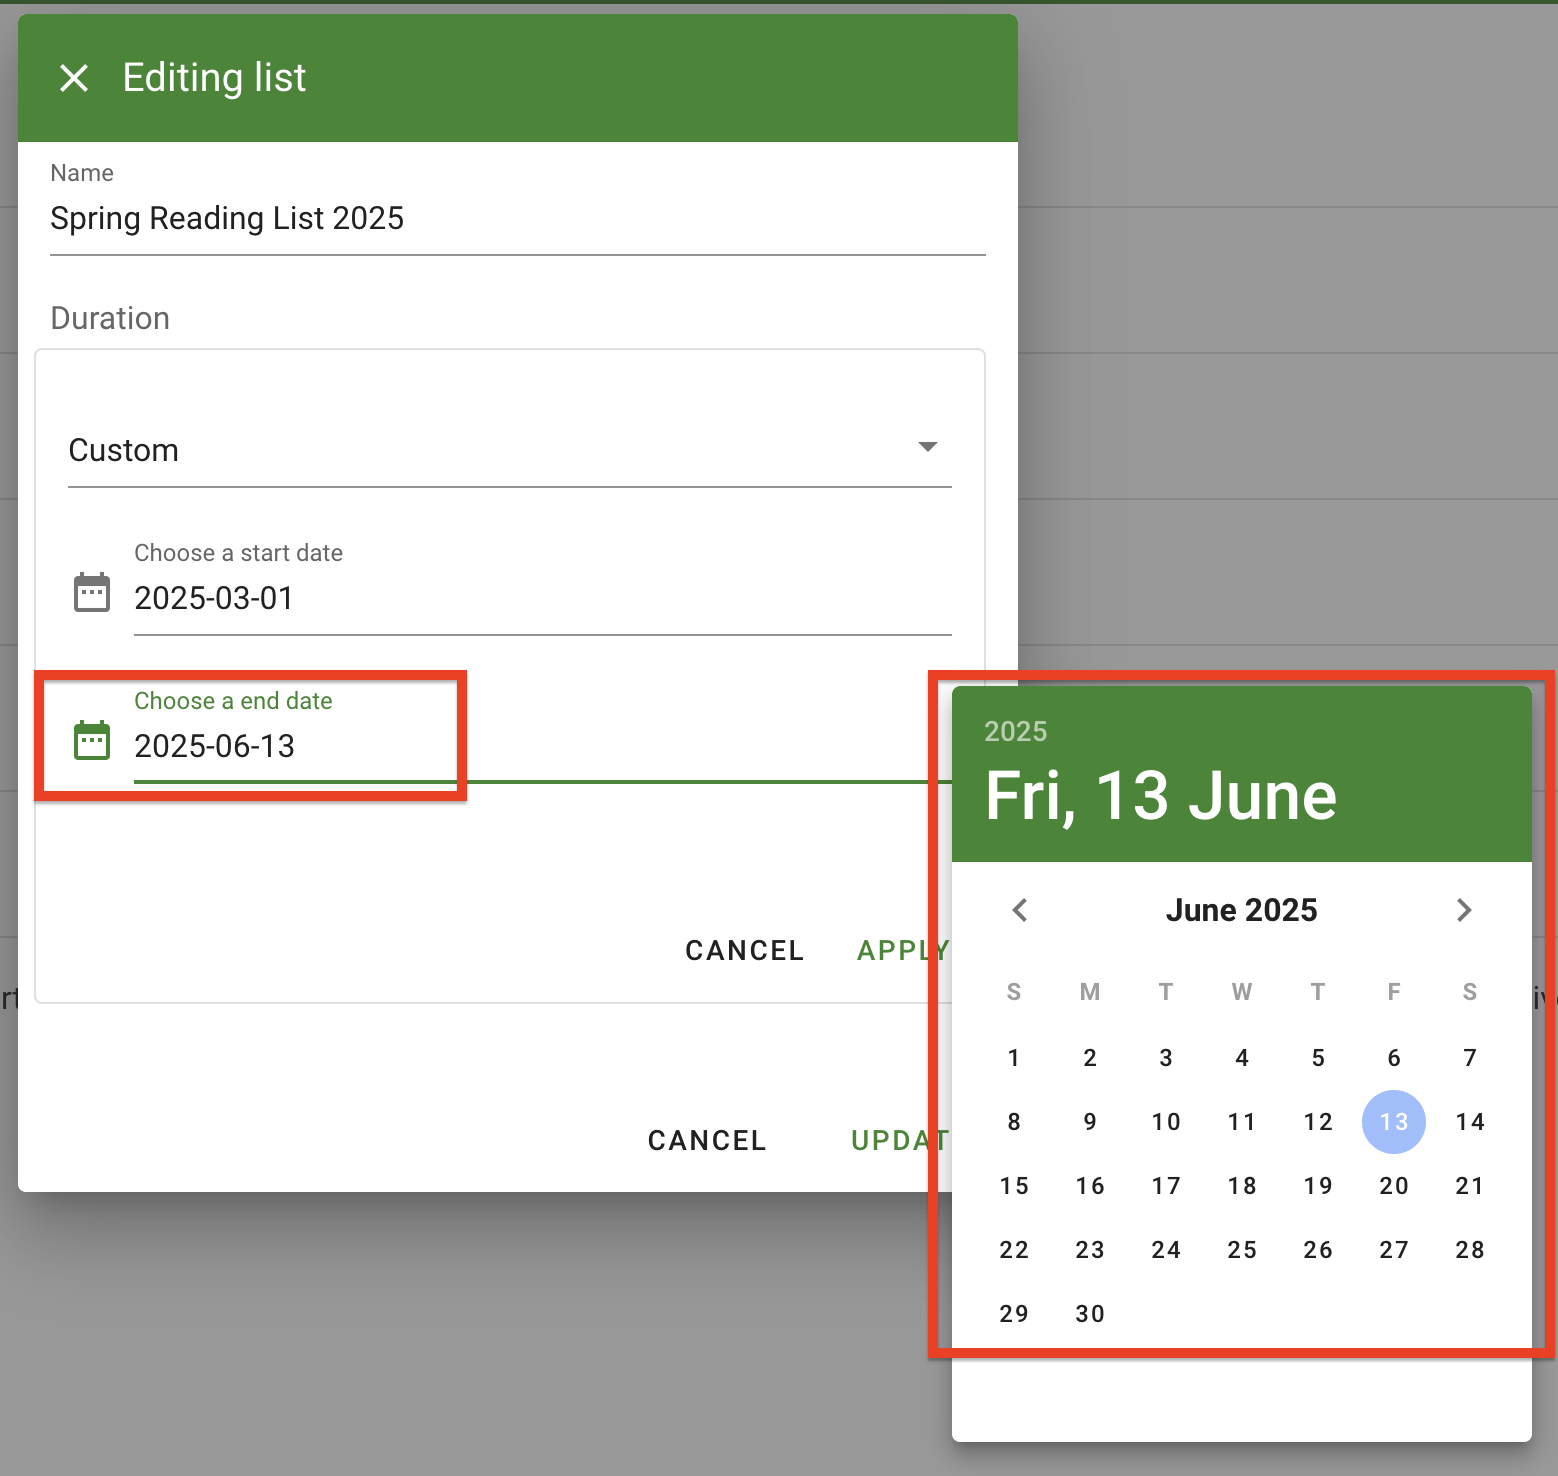
Figure 20 : The custom date selection process -
Click 'Apply' in the Duration panel to save changes.
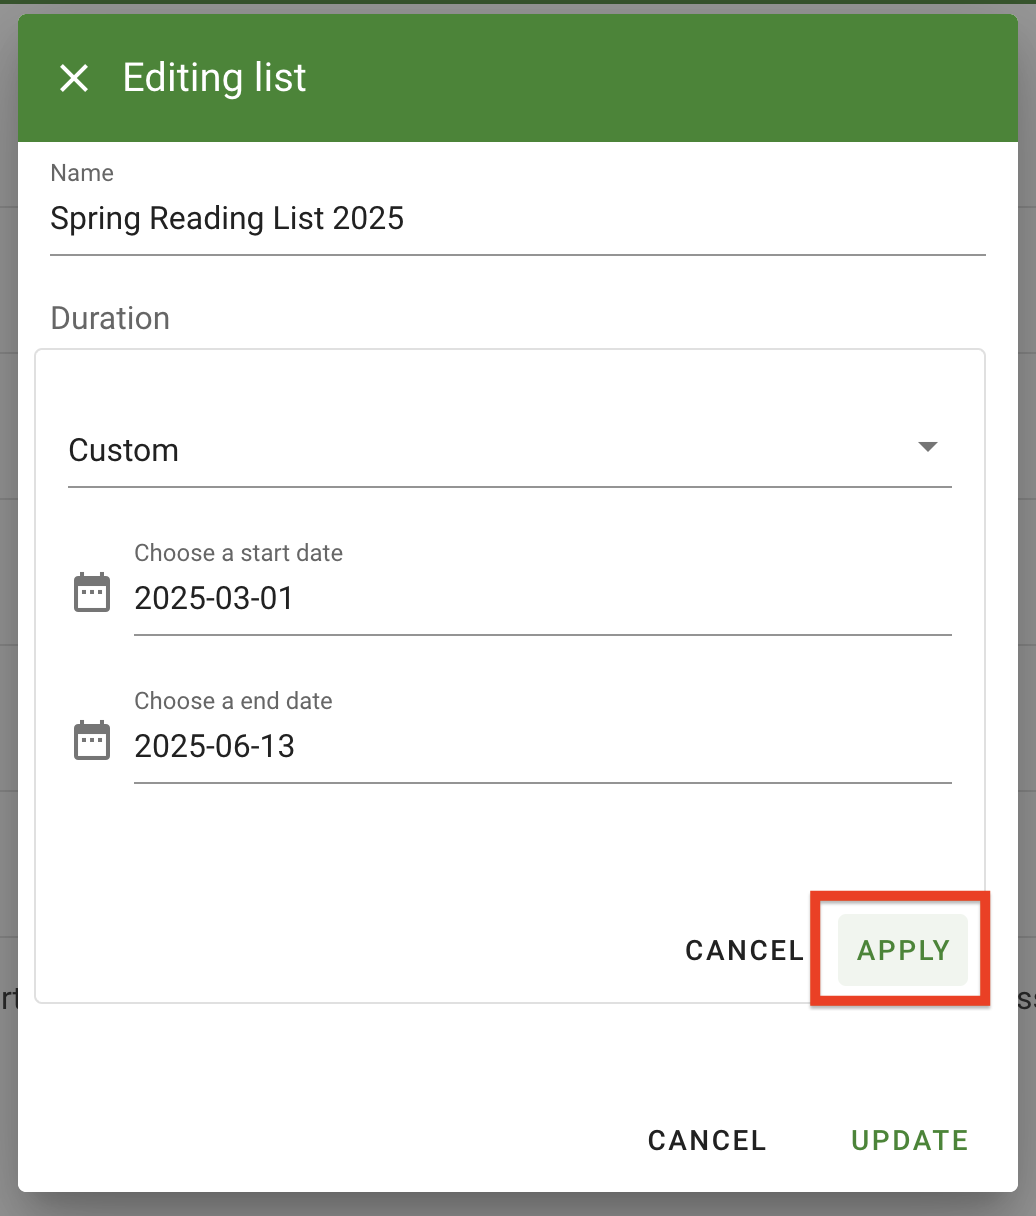
Figure 21 : Click the Apply button to save the duration changes -
Click 'Update' on the bottom right of the Editing List dialogue box to apply the changes to the list.
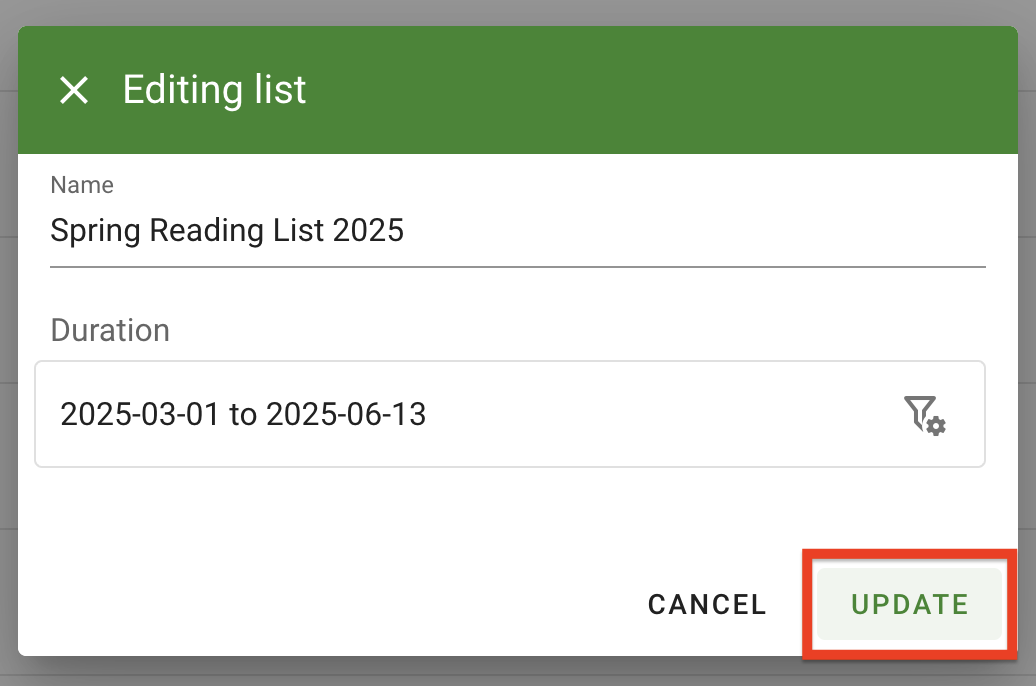
Figure 22 : Click the Update button to apply changes to the list
