
Resource Linking with Canvas
Summary: Resource Linking enables Faculty to provide an inline link to one or more resources from any list in eReserve Plus inside the course content they create in Canvas.
Resource List creation
An important step in the process is to ensure that at least one list, and associated resources, are available in eReserve Plus for the Course that the Faculty staff plans to link to.
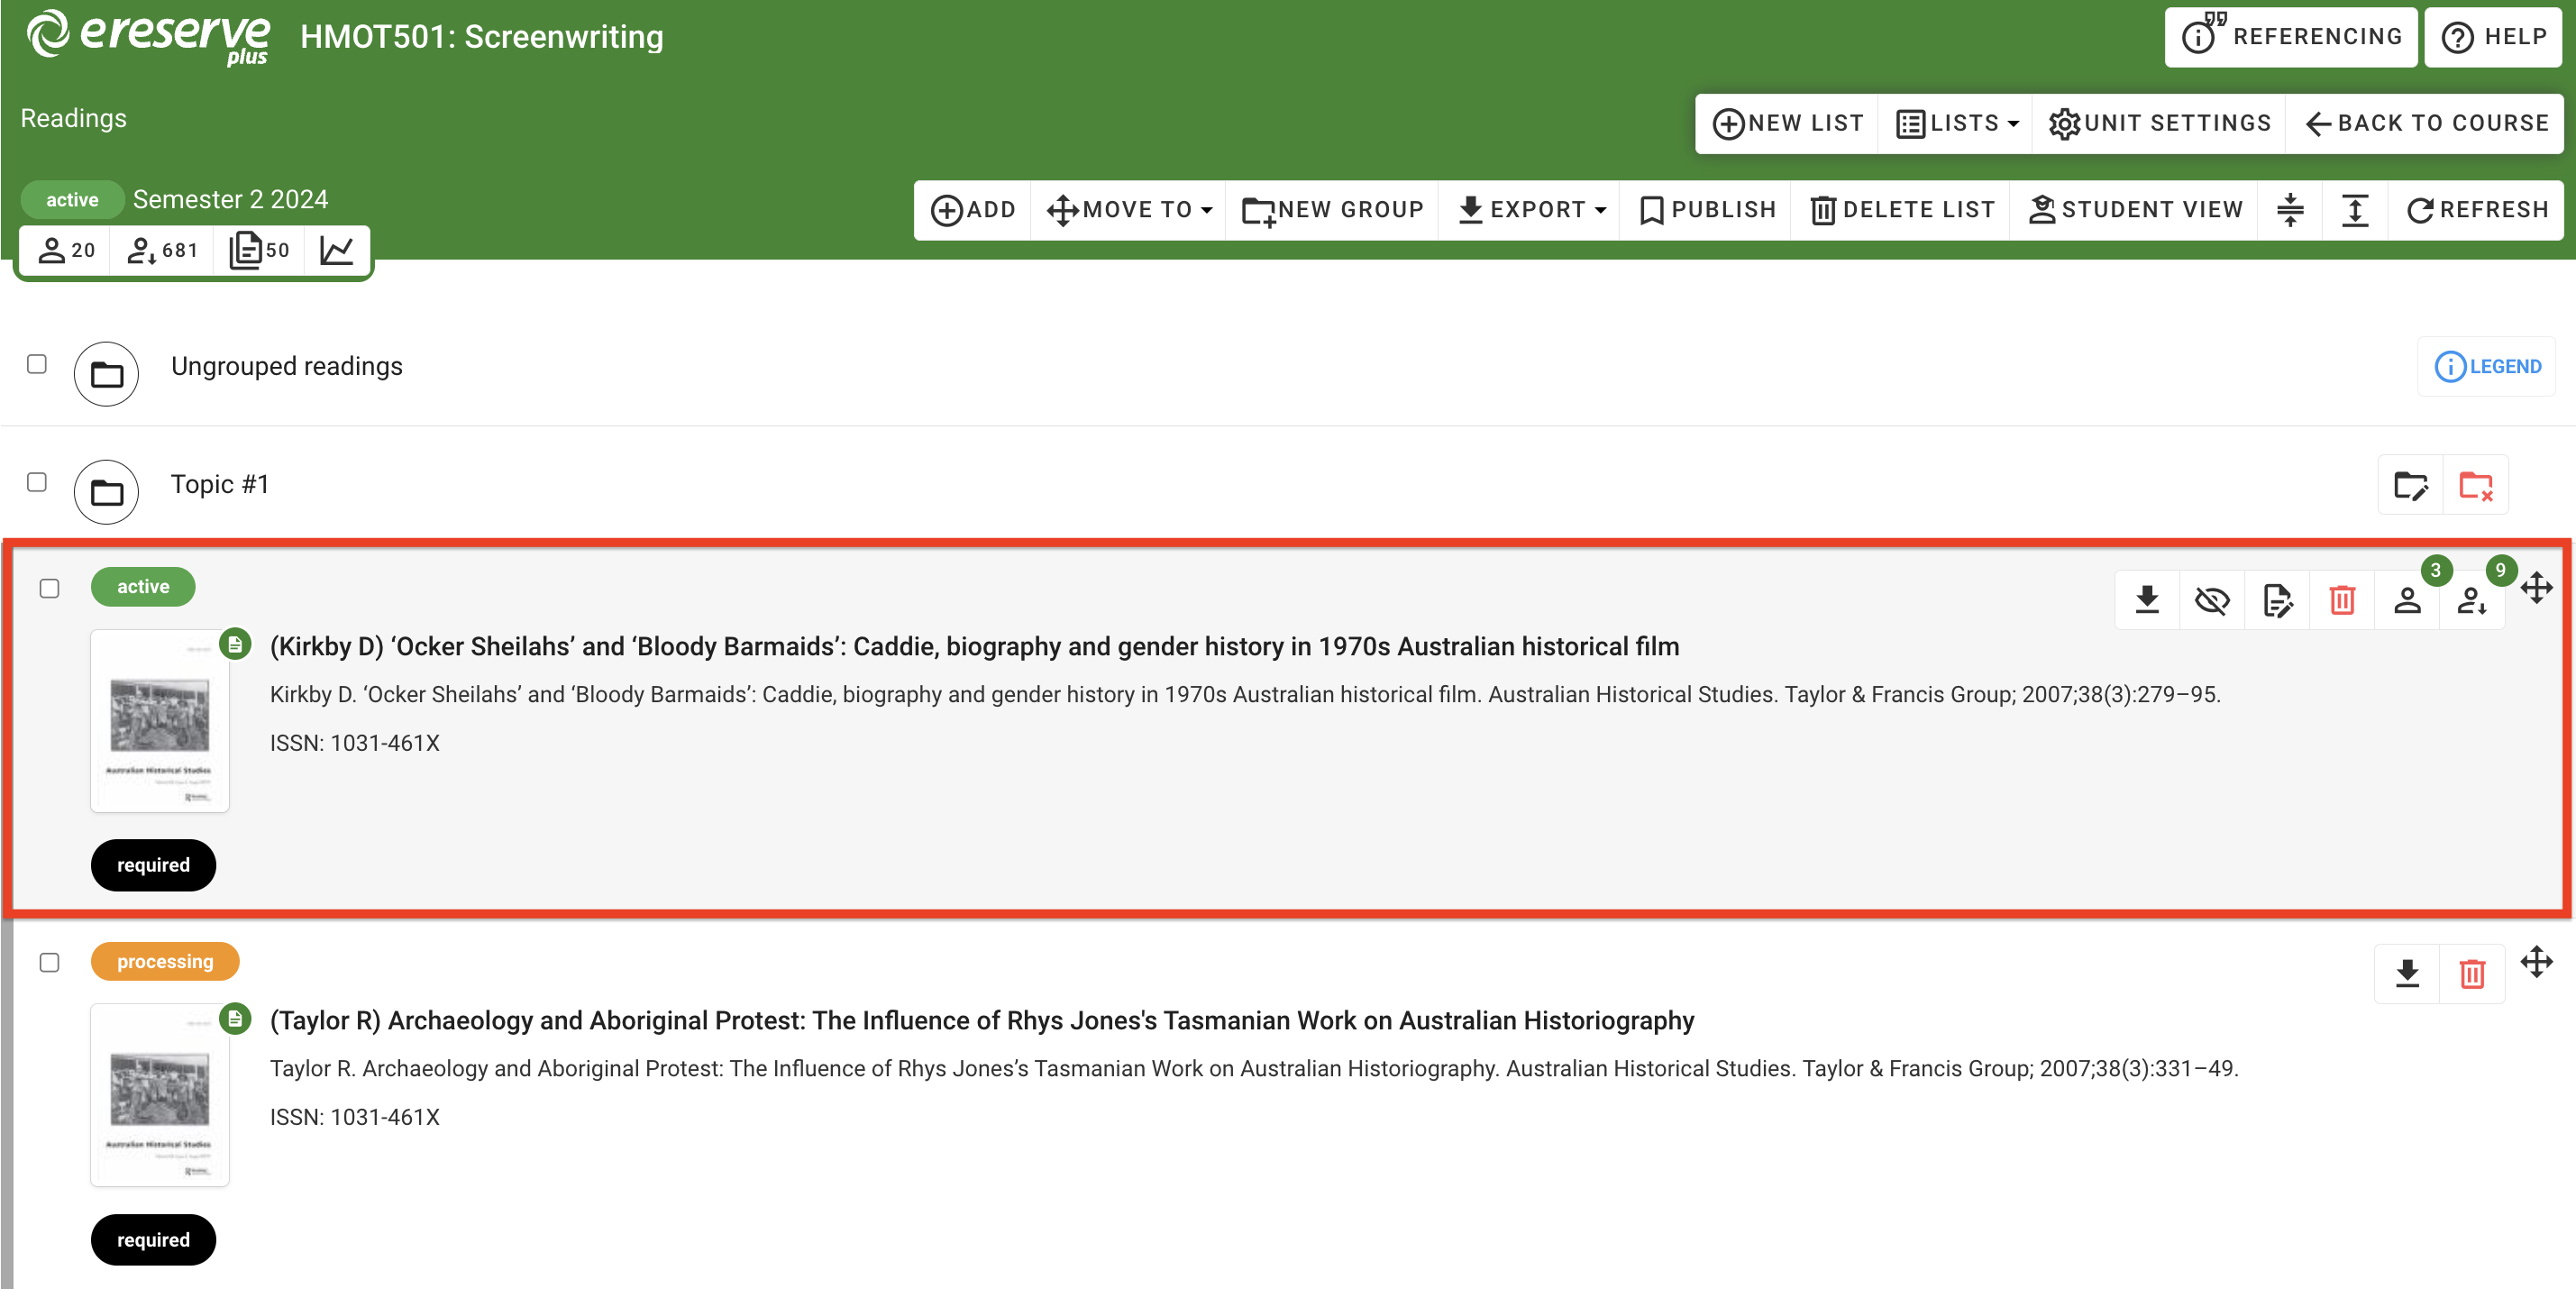
Faculty view
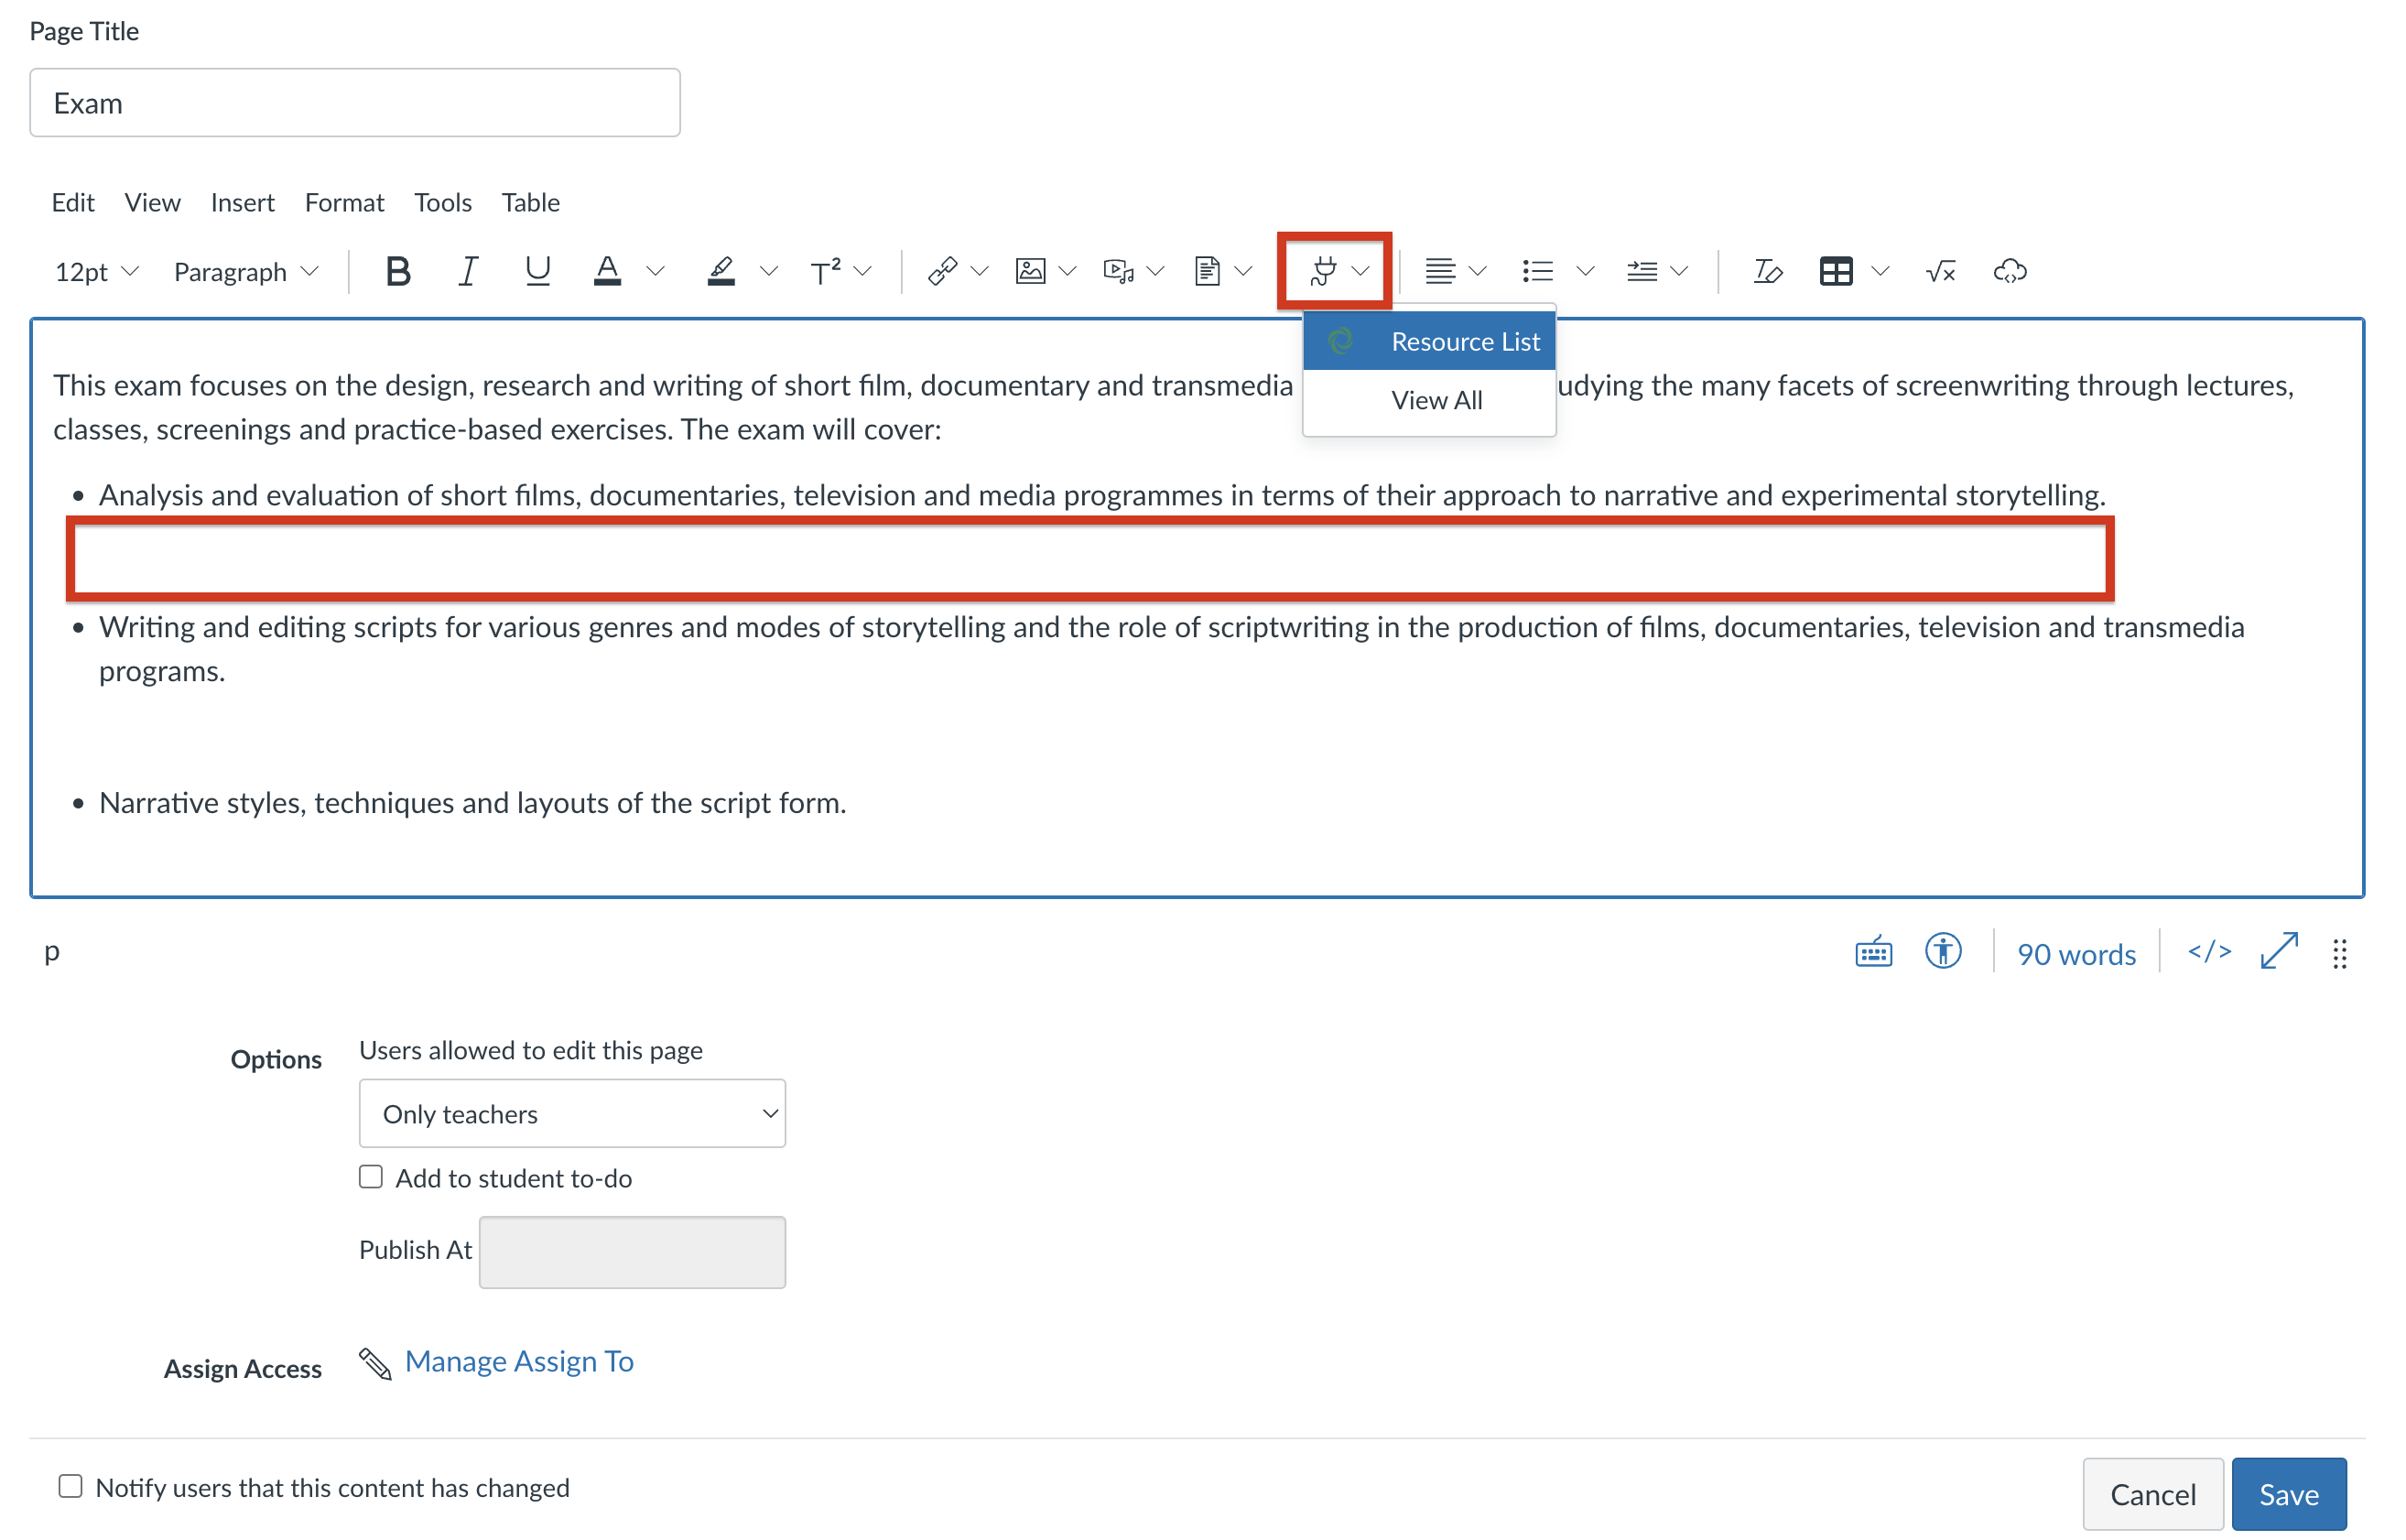
Faculty can add a resource link anywhere there is a HTML editor.
- Access the course in Canvas as usual, then navigate to an editable section, such as Pages, Quizzes, Syllabus, etc.
- To access the content editor, either click into an existing page, then click the Edit. button OR create a new page.
- Within the editor, place the cursor where the Resource Link(s) are to be inserted;
- Click the 'Apps' button;
- Select the eReserve Plus application in the dropdown.
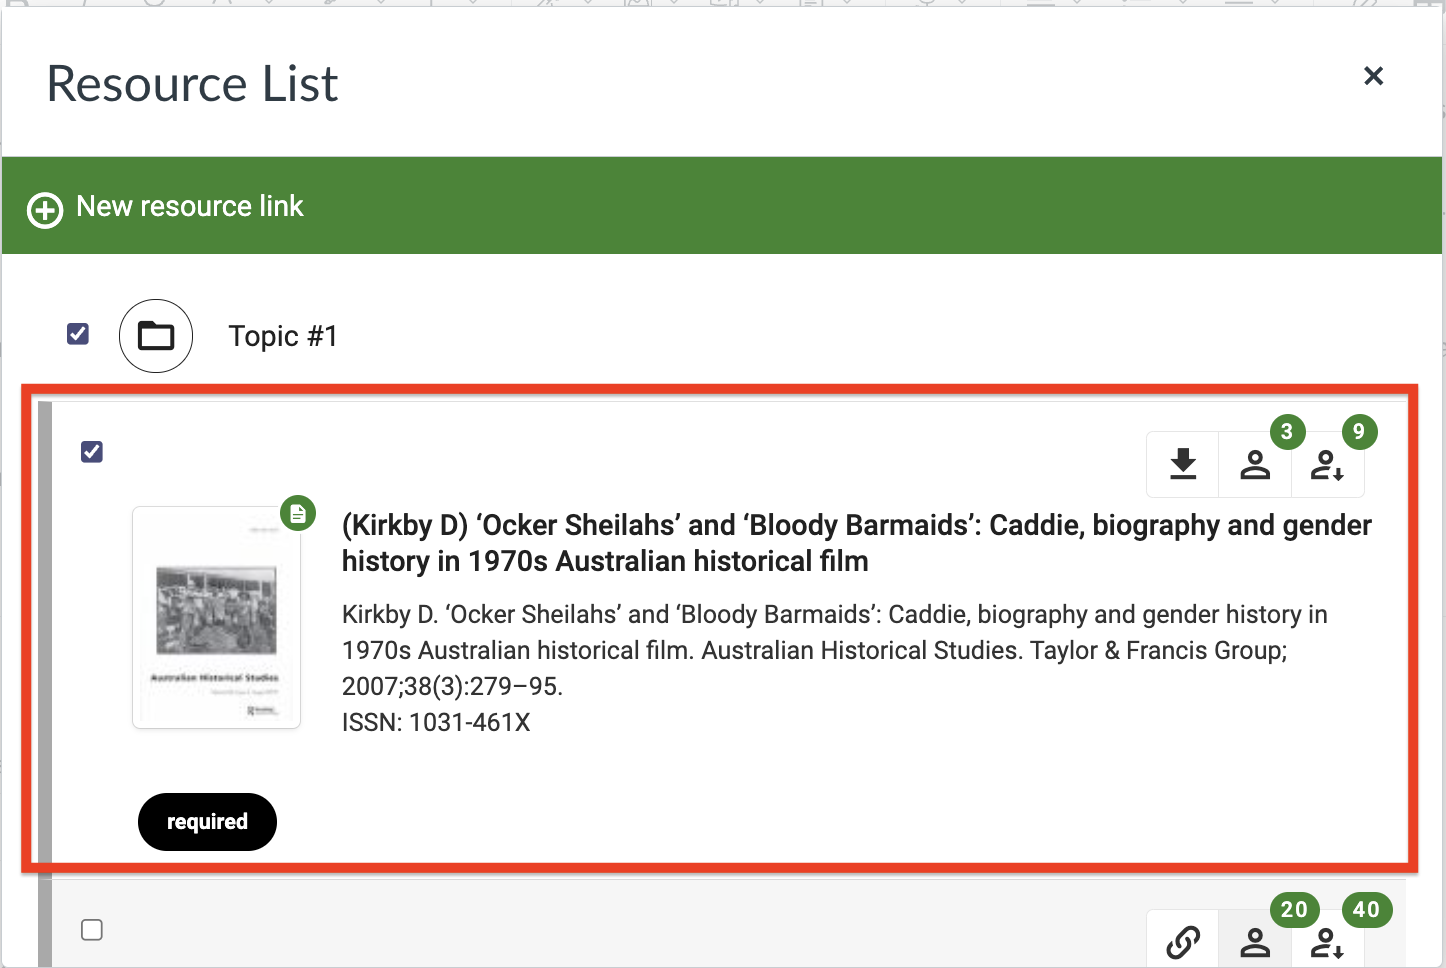
Link to Resources
- Select a list from the dropdown menu.
- Select one or more Resources to link to, then click NEXT
- (Optional) Resize the Resource link and review your selection.
- Click Create to create the Resource Link. The Resource Link will be embedded within the text editor at the selected location.
- Click Save to save the changes in Canvas.
TIP: For great control when replacing or deleting resource links, it is recommended that only one link be created for a single resource rather then multiple. This is because each link will be treated as one HTML object.
Resource Link Sizing
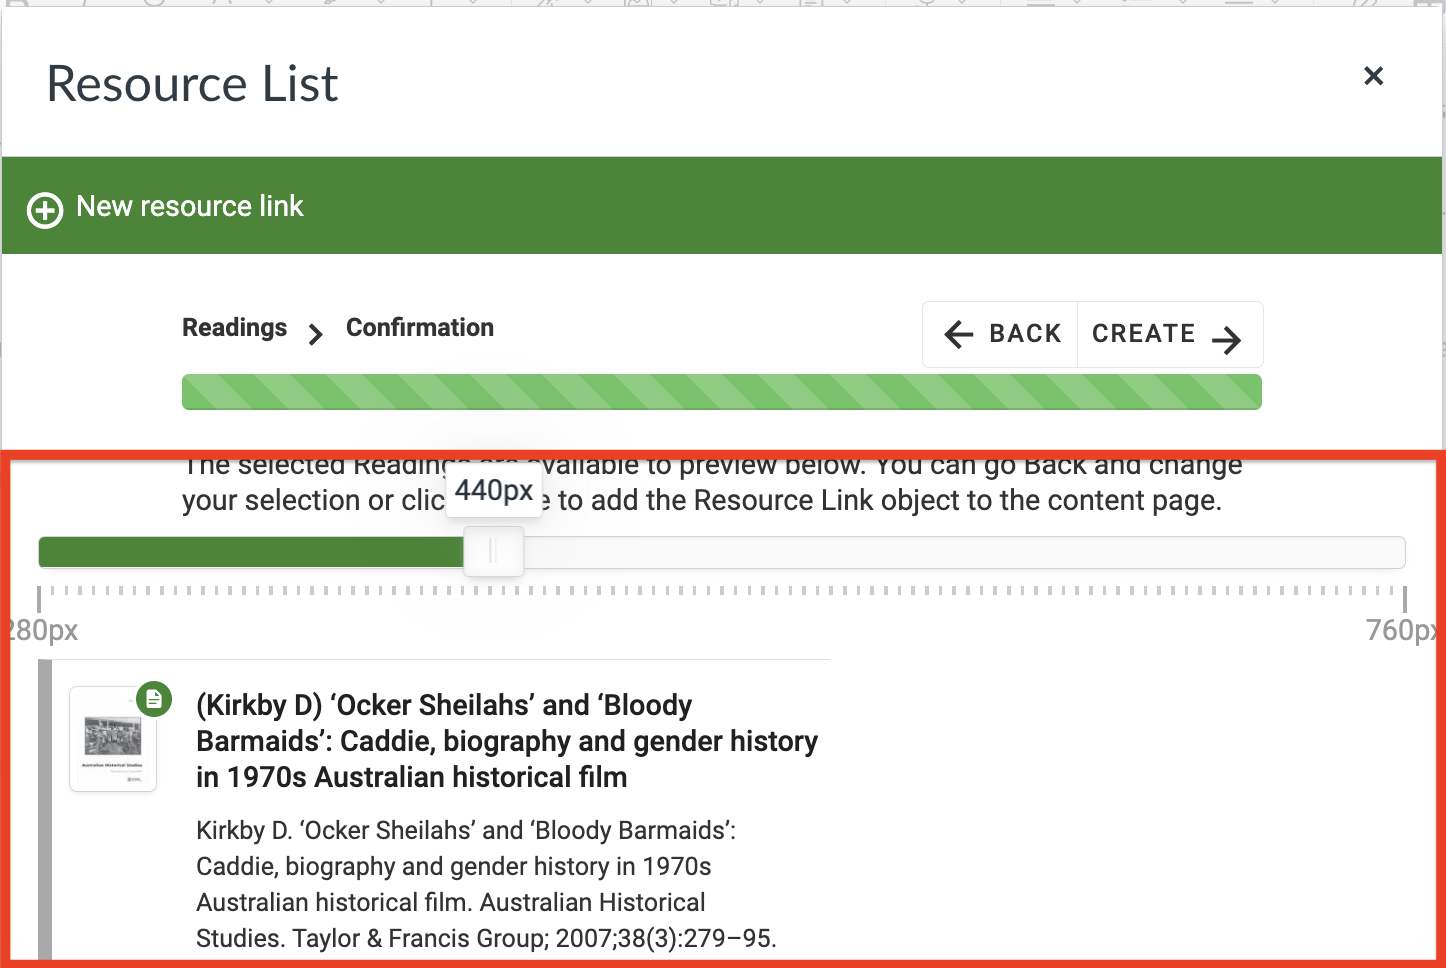
The final step of adding Resource Links is to confirm and add the Resource Link to the destination (i.e. Page or Announcement). In this final step, there will be an option to resize the Resource Link to be a different width which will also be displayed in that width once it has been added.
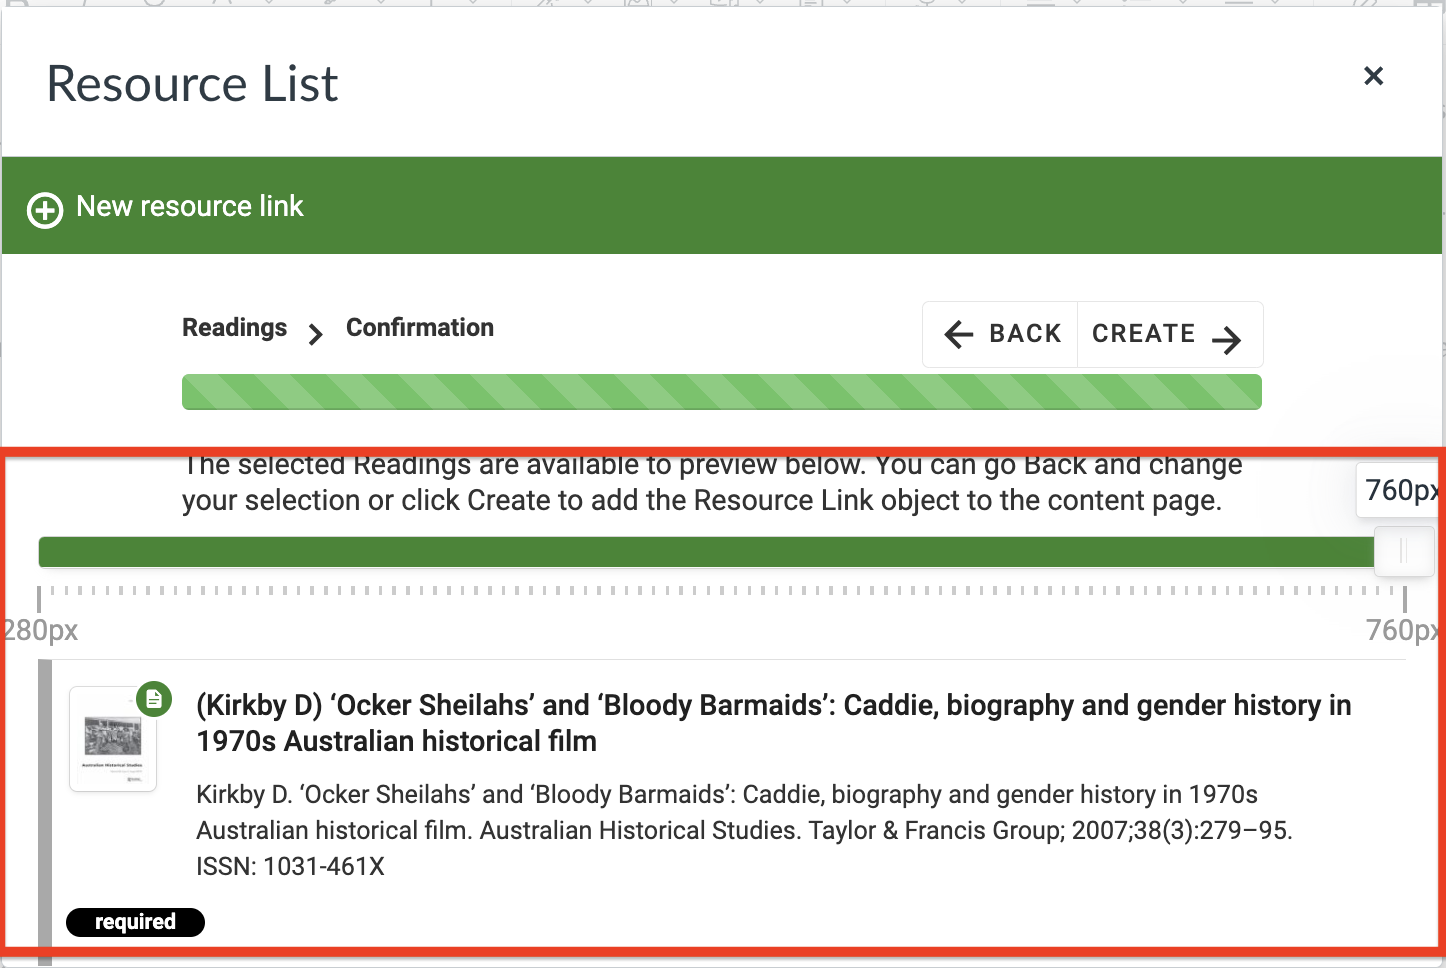
Changing the slider will result in changing the width of the Resource Links. In the image below, the slider will be at a width of 440px which will display the Resource Link on the page as 440px. To view it on the page with content, view Figure 7.
Readings Toolbar
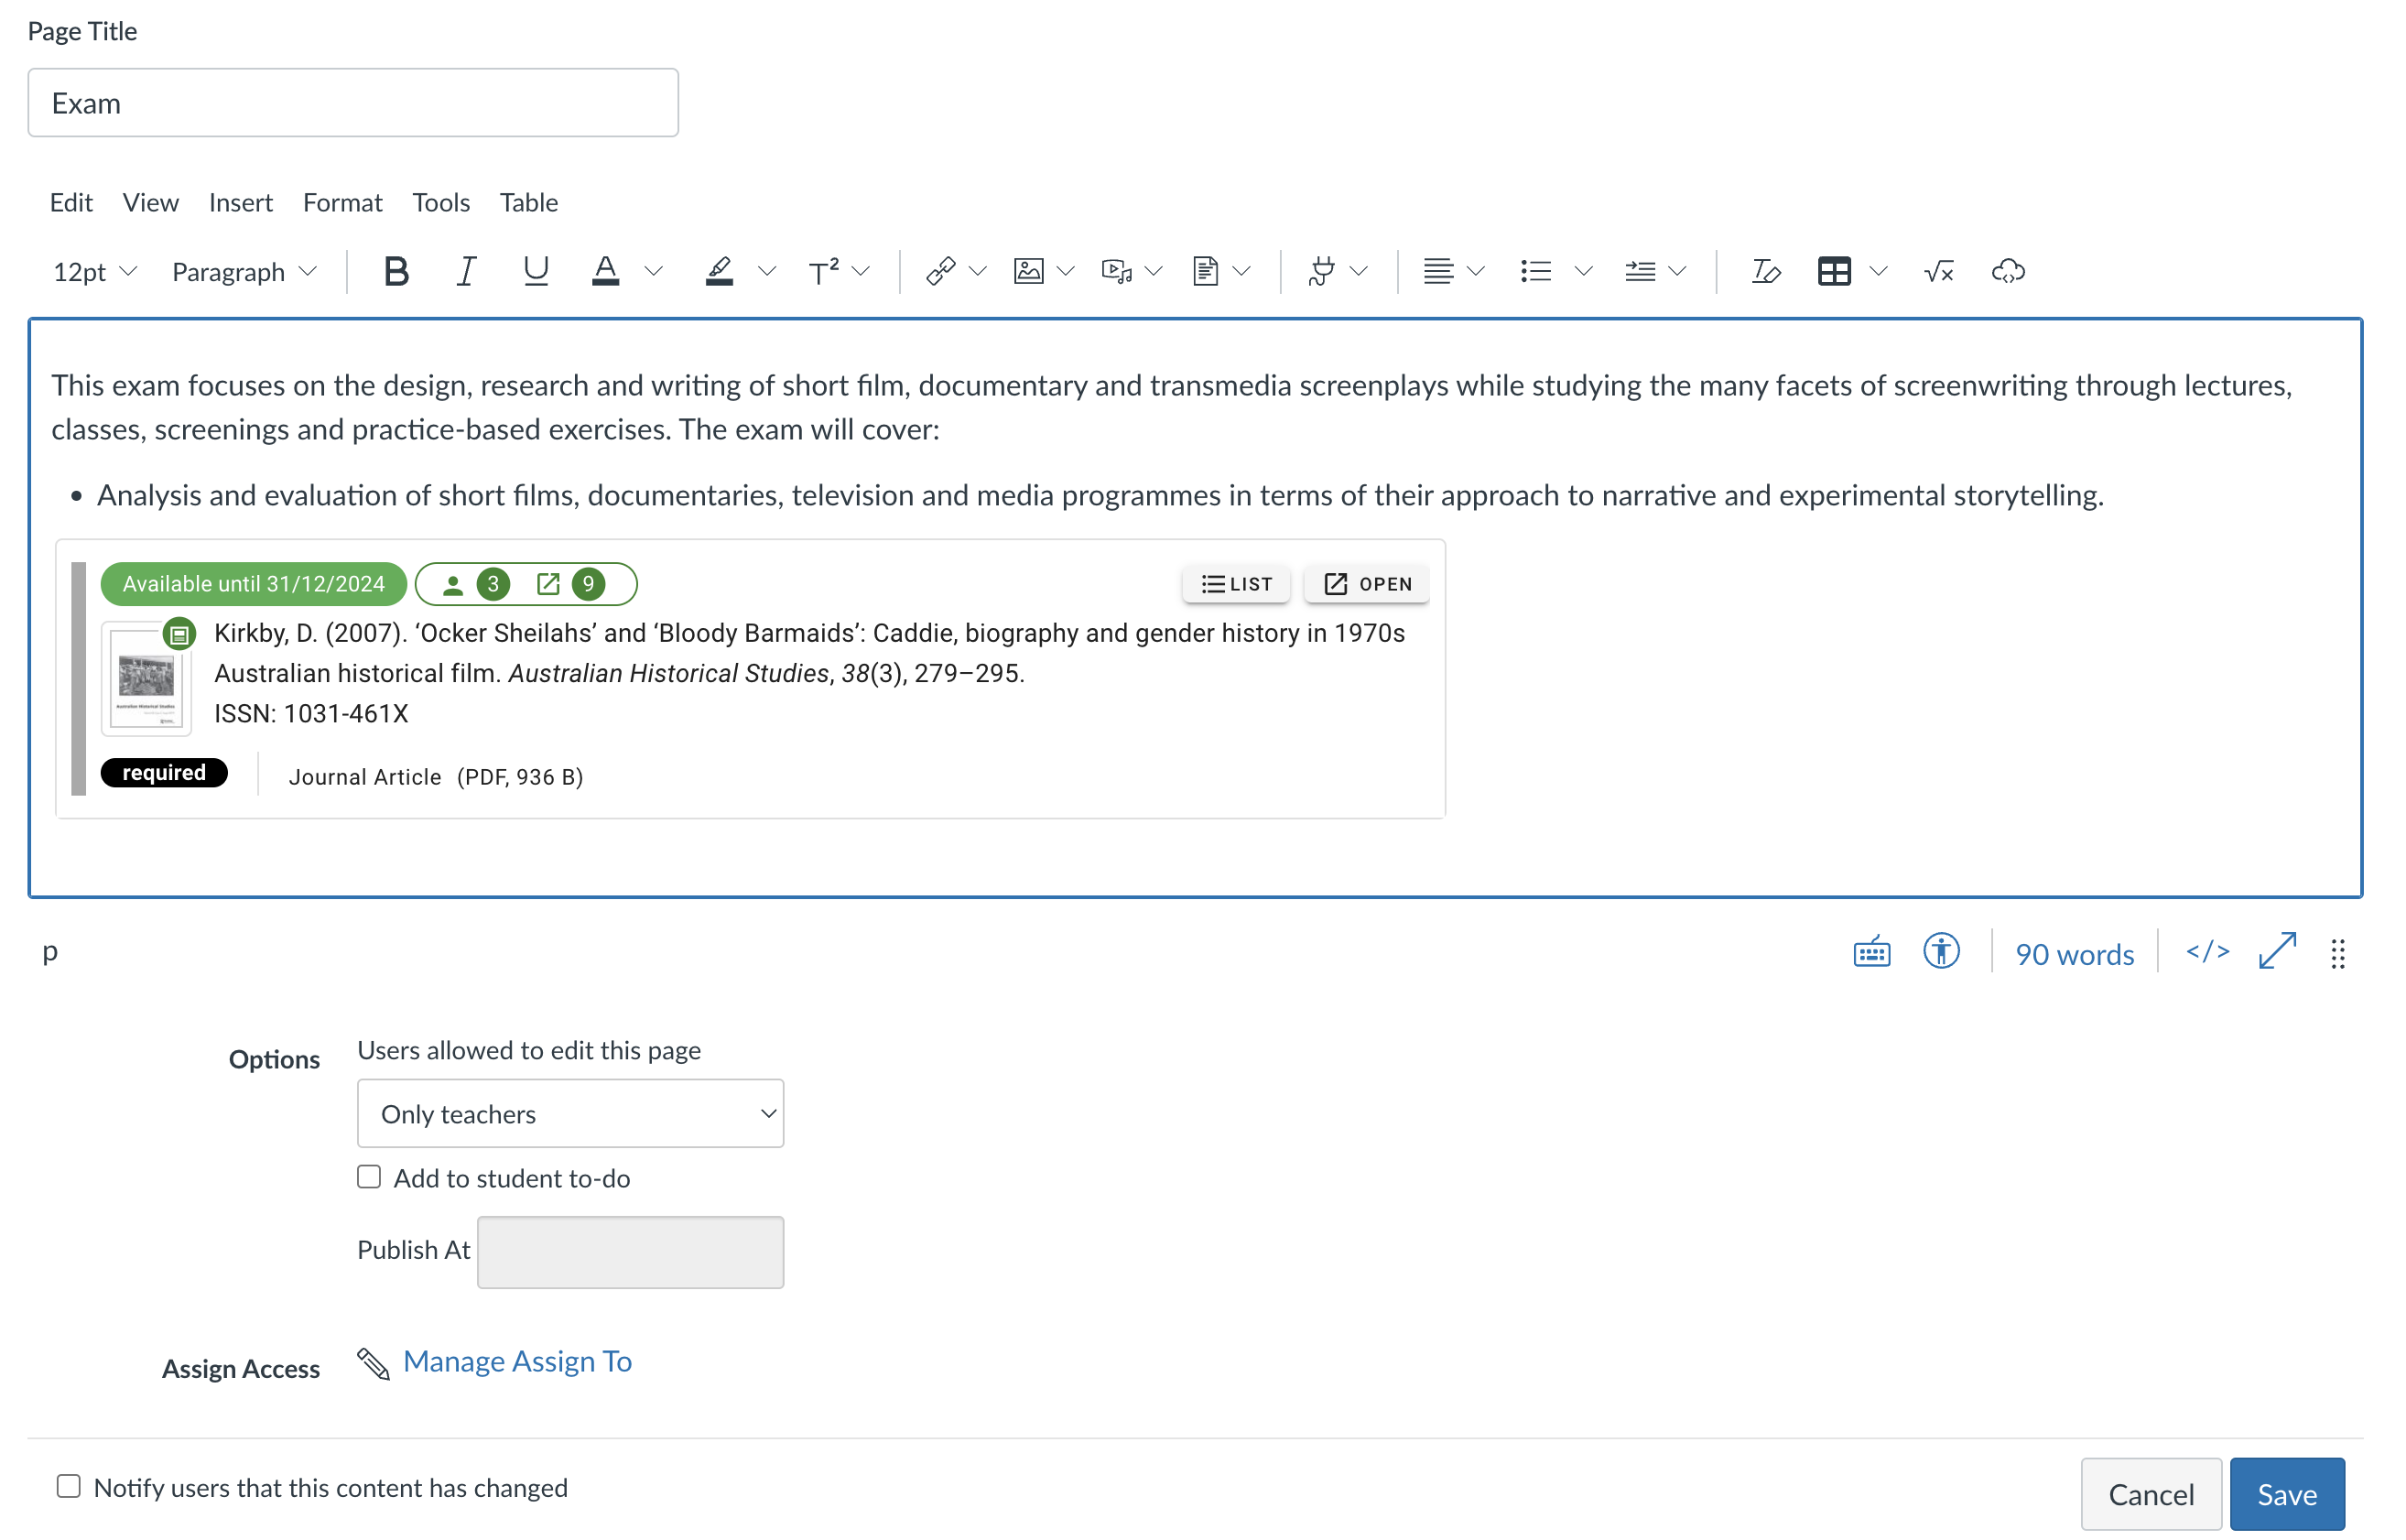
The Readings toolbar has the following Faculty functions:
- Status: This indicates if the resource is available with the end date or if the resource is not available.
- Reading Importance: This shows the reading importance (Required or Recommended).
- Resource Type: This details the resource type, such as book chapter, journal article, etc. This also indicates if the resource is a link or file (as well as the file size).
- Reading List: Clicking on this icon will open the list that the resource is sourced from;
- Open button: The file or link can be selected to download or open in a new window;
- Analytics: The counter displays the total number students that have accessed the resource as well as the total access count for the resource.
Student View
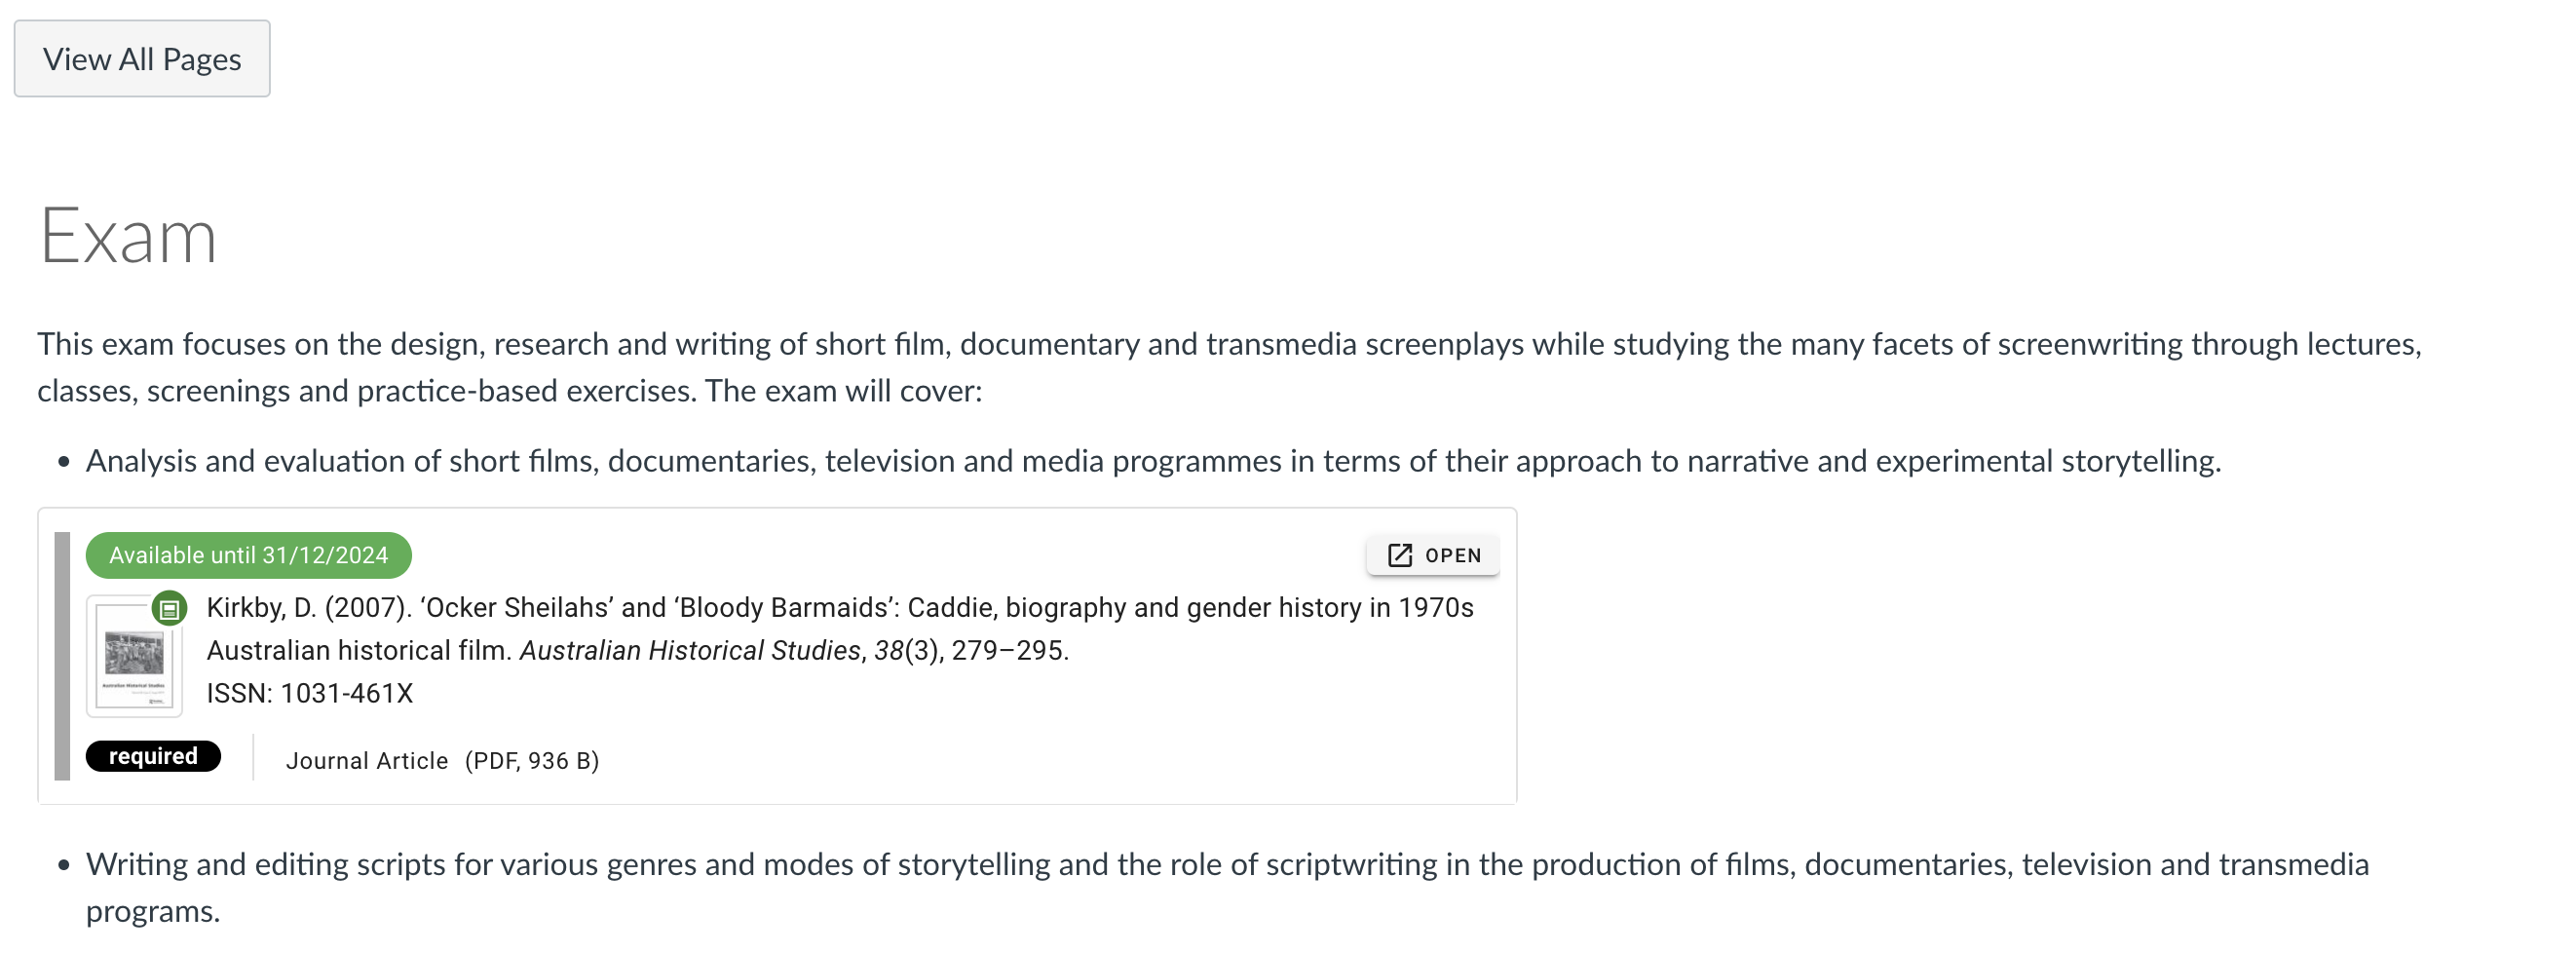
Students will see a link to one or more active Resources inside the course content, which appears similar to how the resource displays in their list.
- Status: This indicates if the resource is available with the end date or if the resource is not available.
- Reading Importance: This shows the reading importance (Required or Recommended).
- Resource Type: This details the resource type, such as book chapter, journal article, etc. This also indicates if the resource is a link or file (as well as the file size).
- Open button: This button will access the resource. Link-based resources will be opened and file-based resources will begin download.
Setting up this Feature
When your Institution is ready to start using Resource Linking with Canvas, your Learning Management System Administrator(s) can access eReserve Plus LMS Canvas Integration Guide for configuration advice.