Configure Discovery Locations
Summary: This page outlines how to configure and manage the discovery locations to be used in the enhanced discovery search.
Introduction
With the Enhanced Discovery feature, there is now an additional configuration option called Discovery Locations. Repositories added to this configuration can be searched by library and faculty staff, who can view and add resources to use in their lists.
Only user accounts with the 'Site Manager' role can view and manage the Discovery Locations configuration.
To access, navigate to the Insights dashboard, then click Configure. Click Discovery Locations in the dropdown.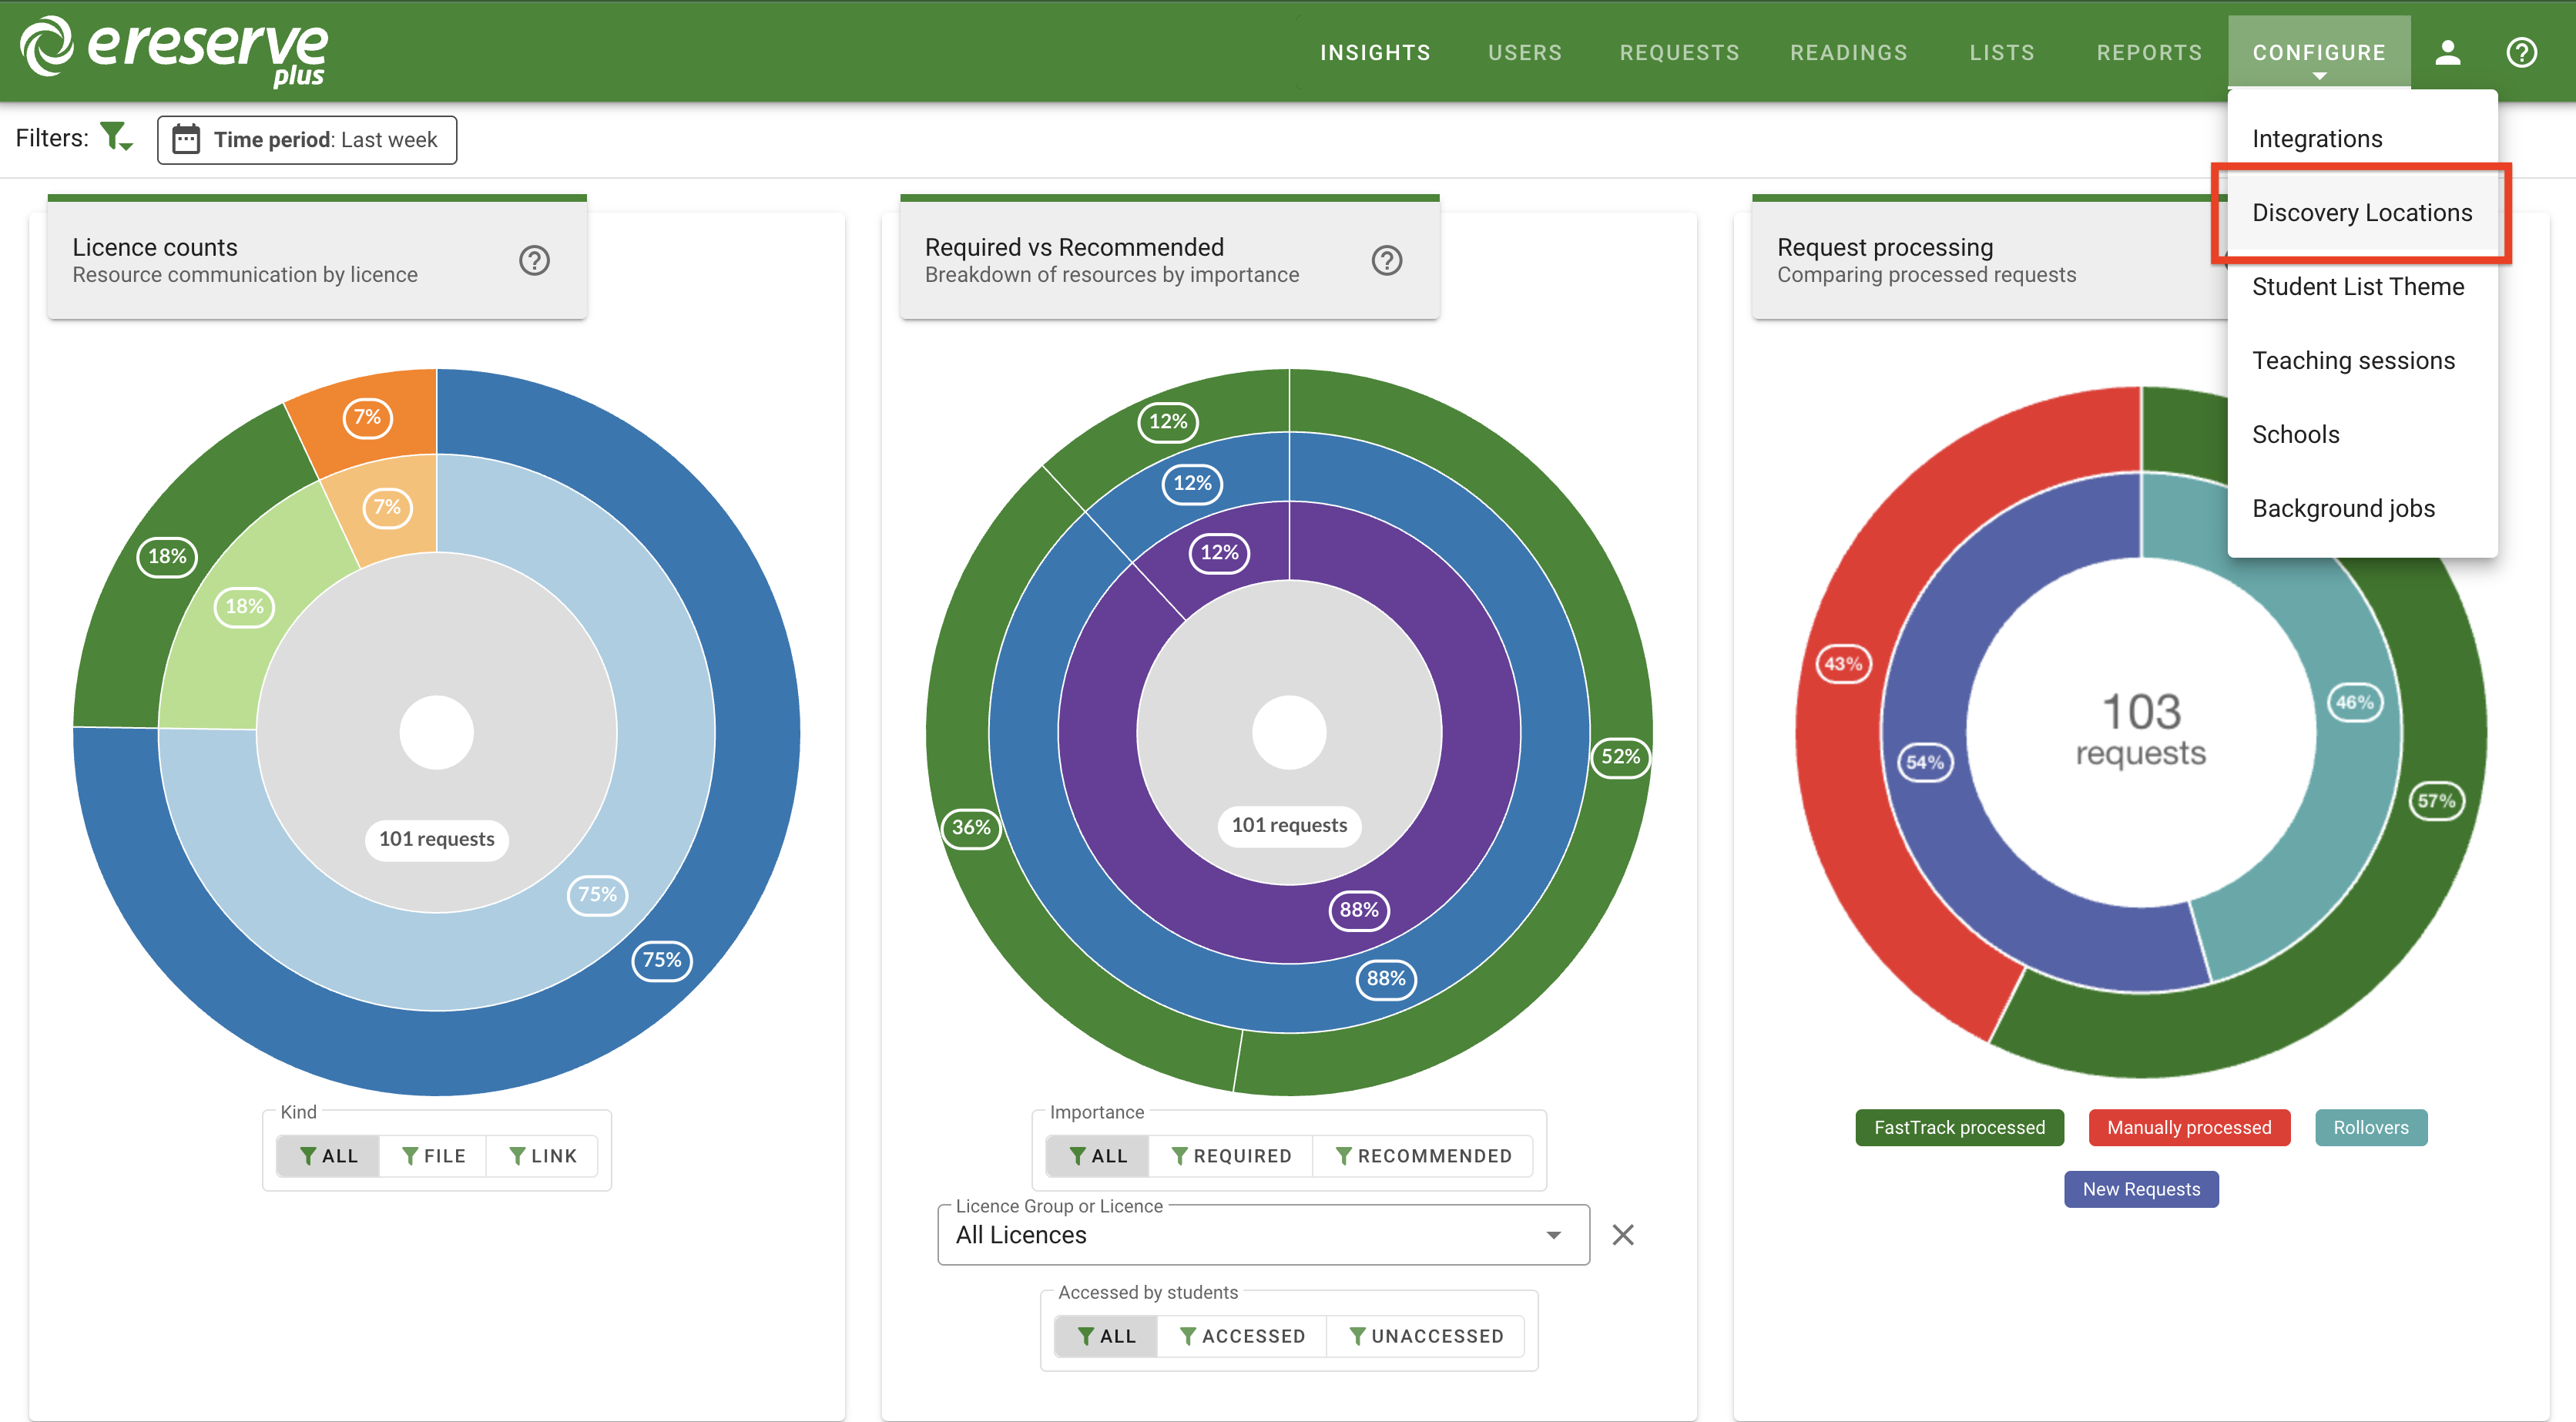
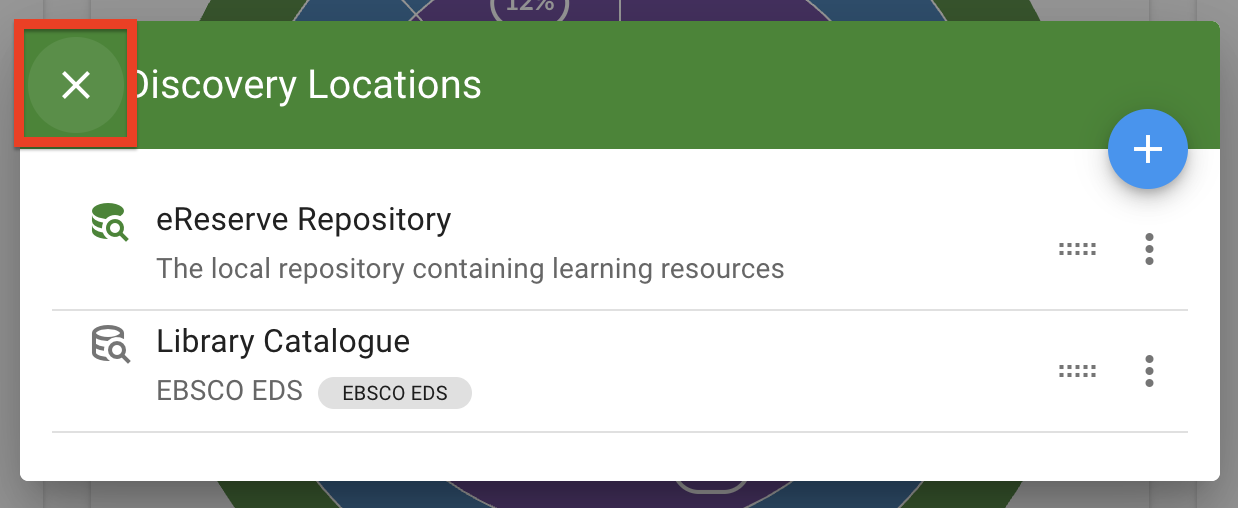
Clicking the 'X' on the top left of the discovery locations window will close the pop-up window and return to the Insights dashboard page.
Add a new Discovery Location
As a prerequisite, library integrations will first need to be created and enabled within eReserve Plus's Integration page before they can be added into the Discovery Locations configuration.
-
On the right side of the discovery locations configure menu, click the blue Add button (+).
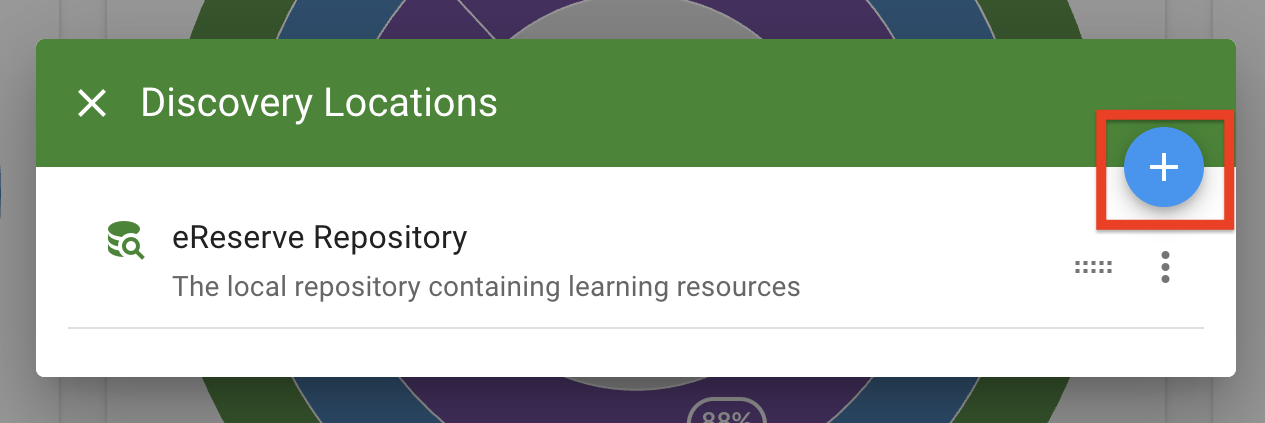
Figure 3 : The Add button in the discovery location menu 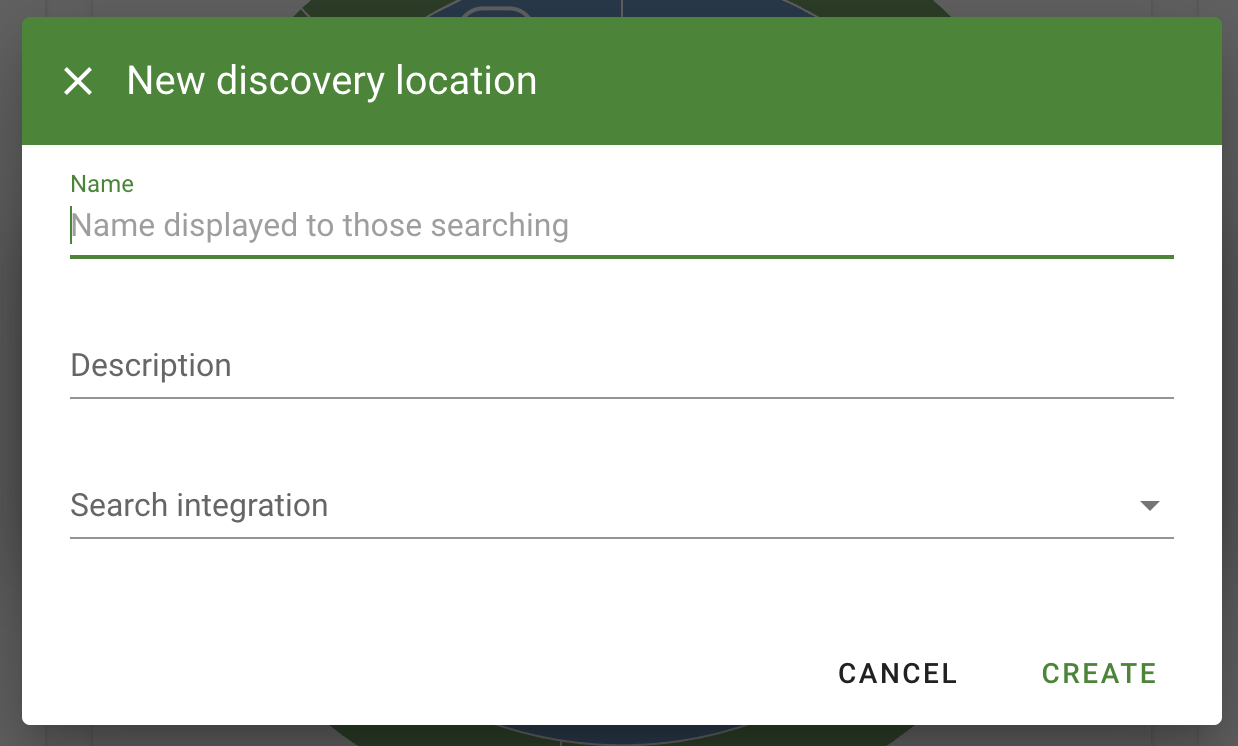
Figure 4 : The new discovery location form -
In the 'Name' field, type in the name of the new discovery location.
-
(Optional) In the 'Description' field, type a description for the repository. This description can be informative, instructional, etc. and will be display underneath the repository name for both faculty and library staff when using the enhanced discovery search. This field can also be left blank.
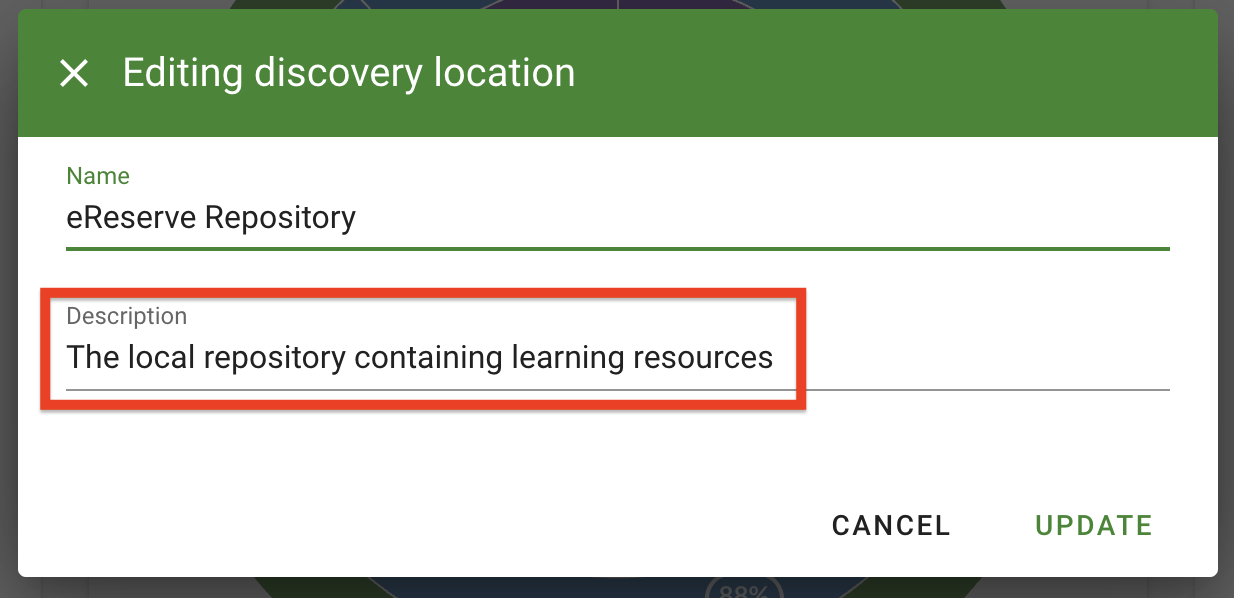
Figure 5 : The description for the eReserve repository 
Figure 6 : The description displayed when searching for resources -
Click on the 'Search integration' dropdown and select an active integration from the list. Please note that any disabled integration will display a 'disabled' label and will not yield results if selected.
-
Click Create to create the new location.
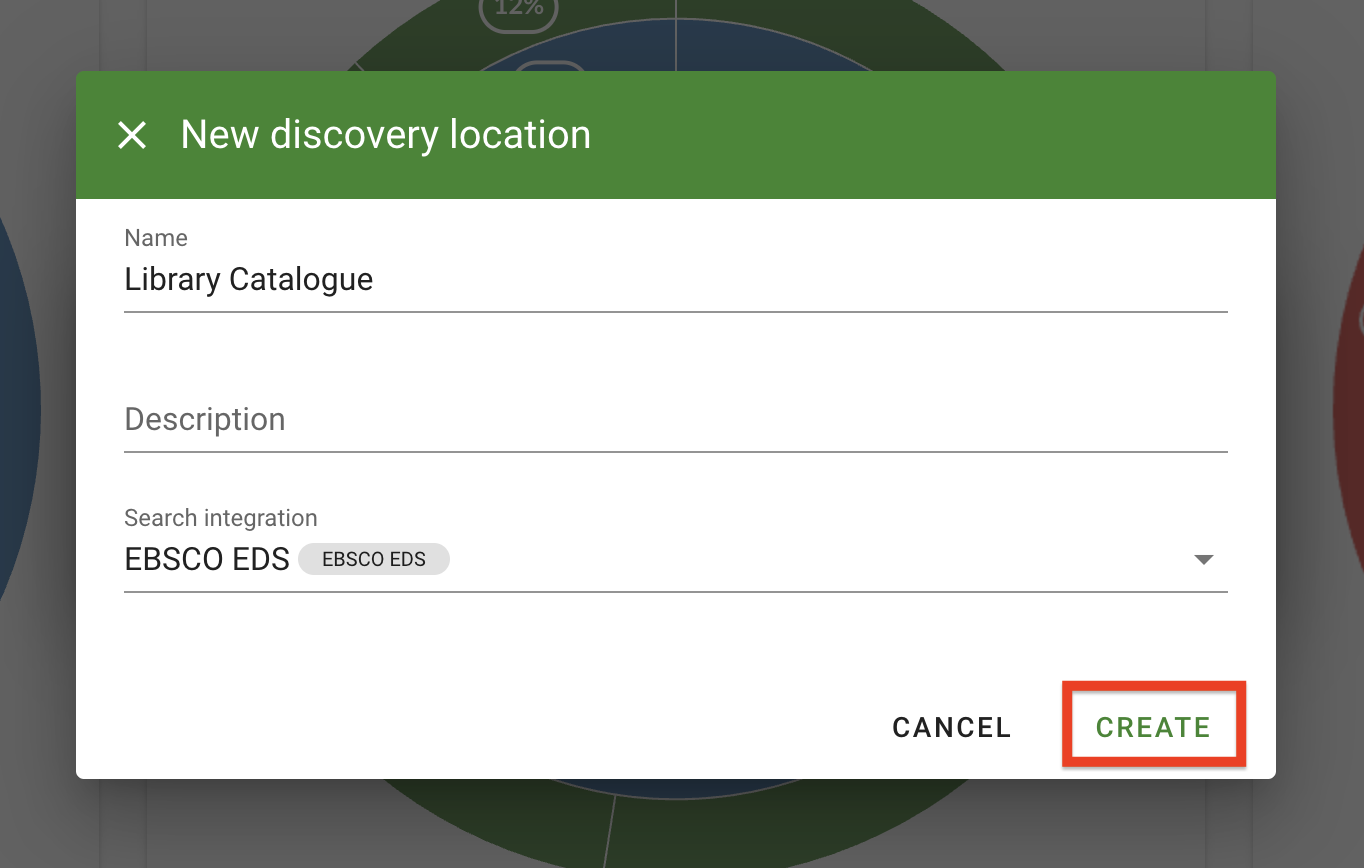
Figure 7 : Click the Create button in the New discovery location menu to create the repository
The new integration will now be listed in the discovery location menu and will be searchable in the discovery search.
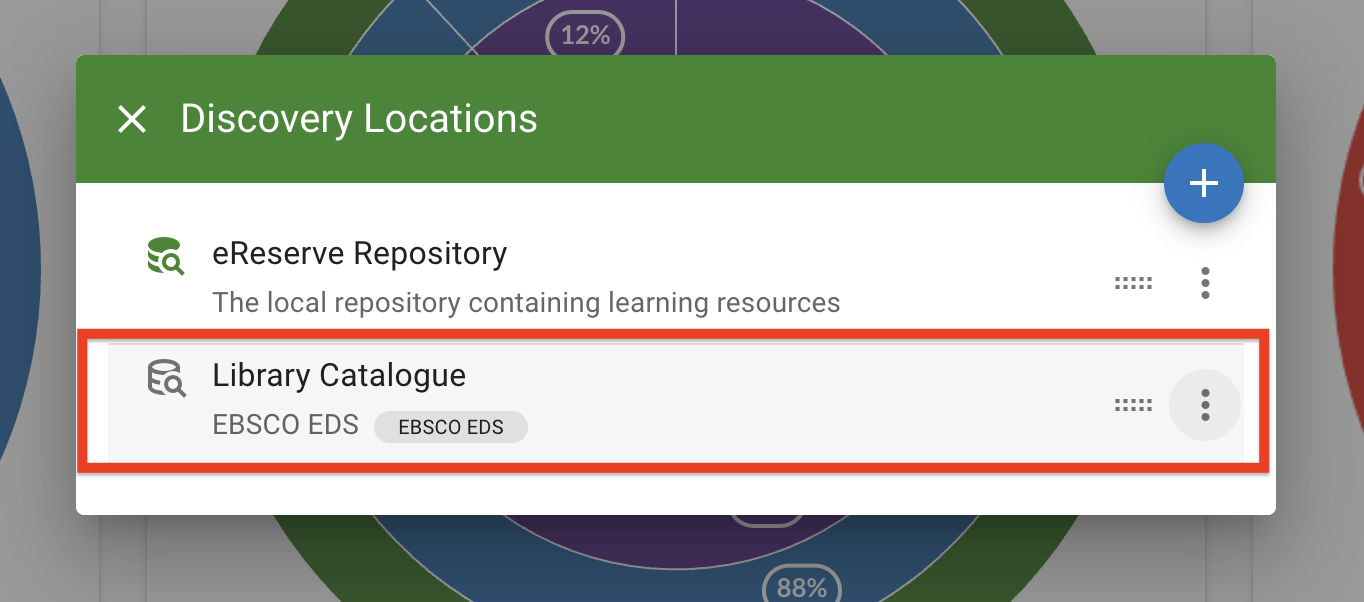
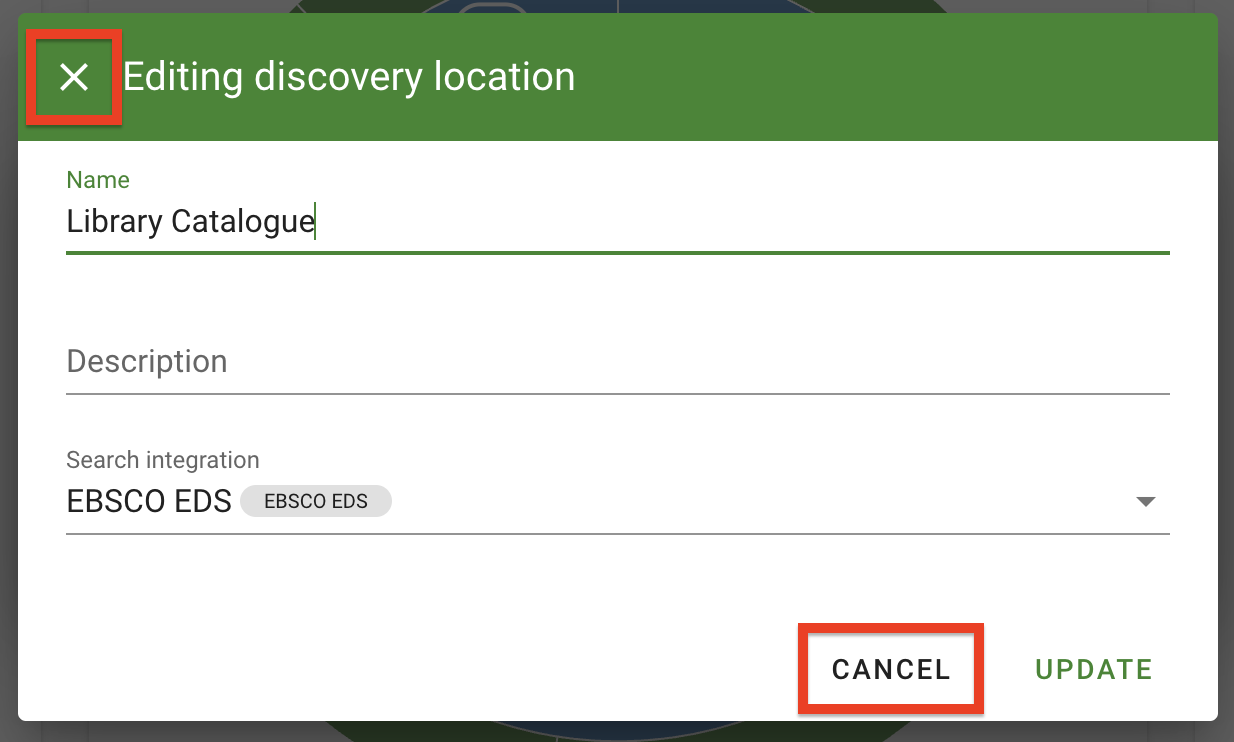
The creation process can be cancelled anytime by clicking Cancel or the X on the top left corner of the new discovery location window.
Managing Discovery Locations
Edit existing repositories
-
To edit details for an existing repository, either directly click on the repository in the list OR click on on the ellipsis menu on the right-hand side of the location option, then click Edit.
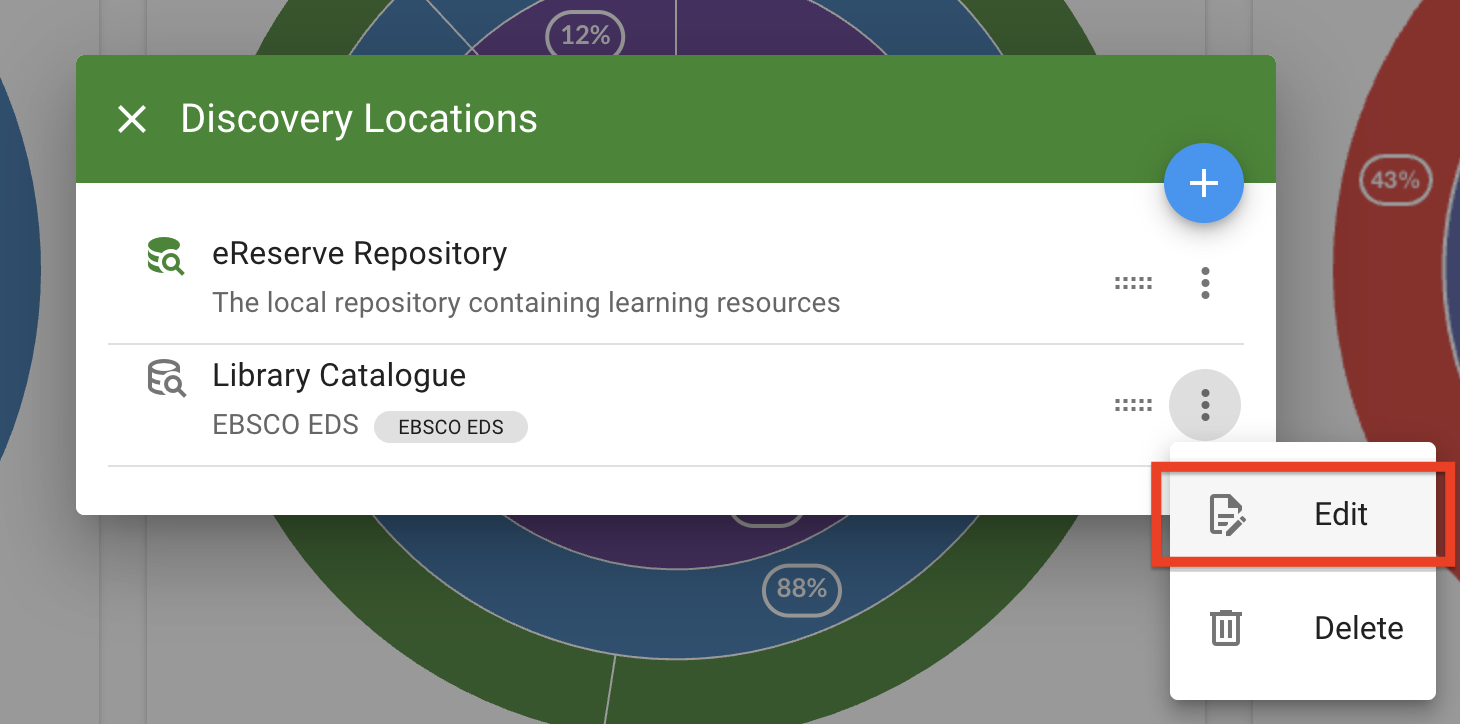
Figure 10 : Selecting the Edit option for an existing repository -
Update the Name, Description or Search integration details.
-
Click Update to save any changes made.
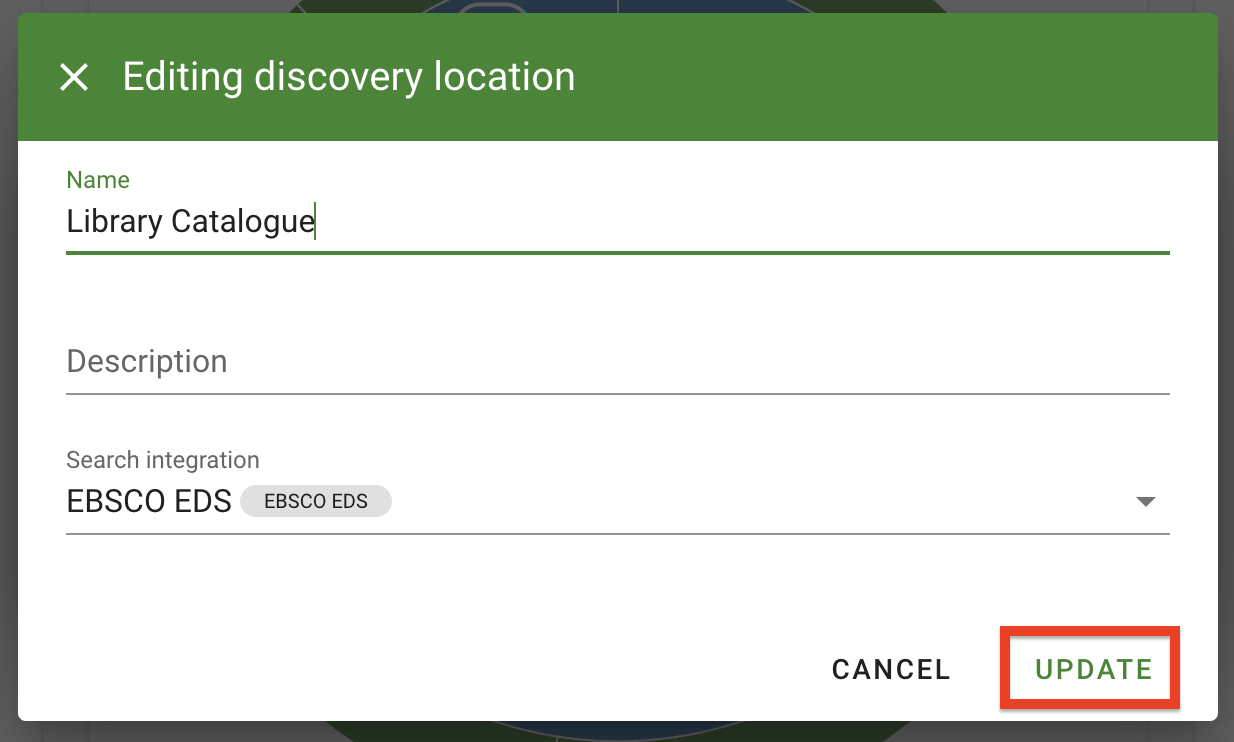
Figure 11 : Click the Update button to save all changes made
To cancel the edit process or undo any changes made, click Cancel or the X on the top left of the window.

Rearranging repositories
When searching for resources, the repositories will be listed in the same order as they are listed in the discovery locations configuration menu.
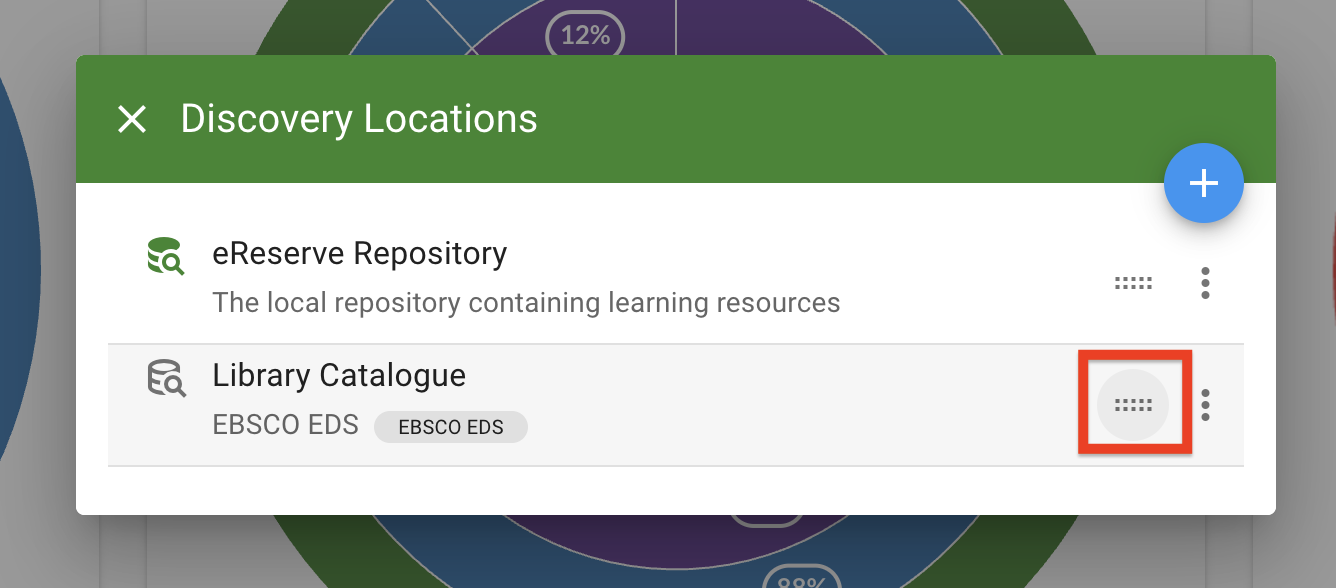
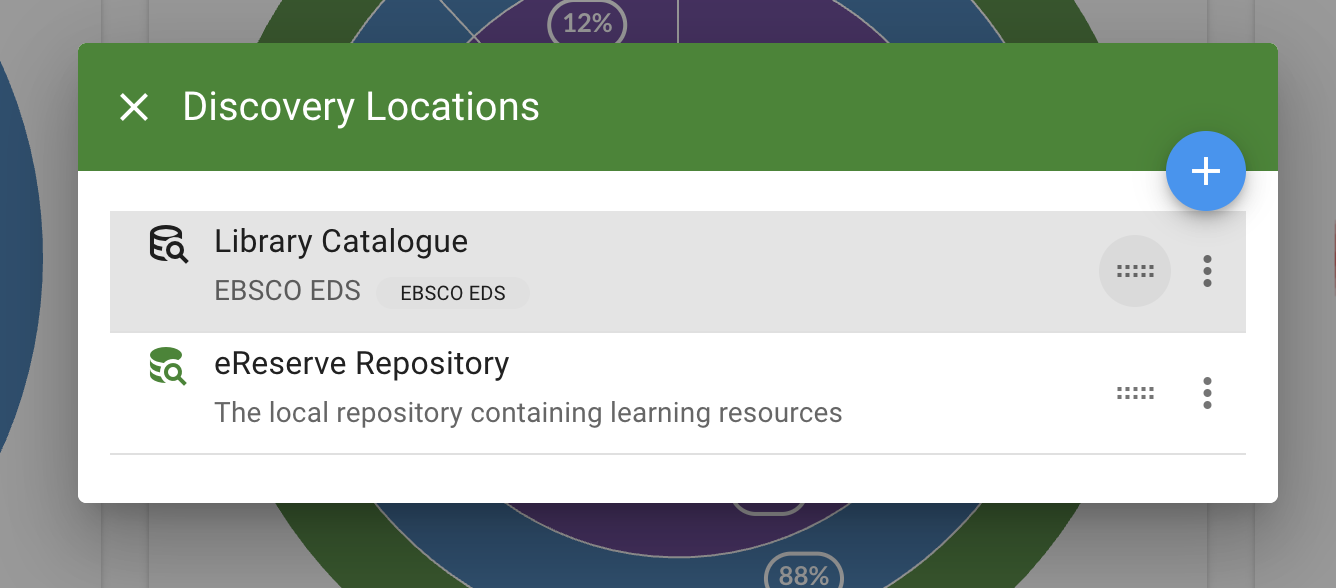
To rearrange, click and hold the drag-and-drop handle (next to the ellipsis menu), then drag the repository to the desired location and let go of the handle. These changes will be automatically applied.
Deleting Discovery Locations
Please note that deleting a repository from the discovery locations will remove that repository from the search results, making those resources unsearchable by library and faculty staff. Please note that the eReserve Repository is available by default and cannot be deleted.
- To delete a discovery location, click on on the ellipsis menu on the right-hand side of the location option, then click Delete.
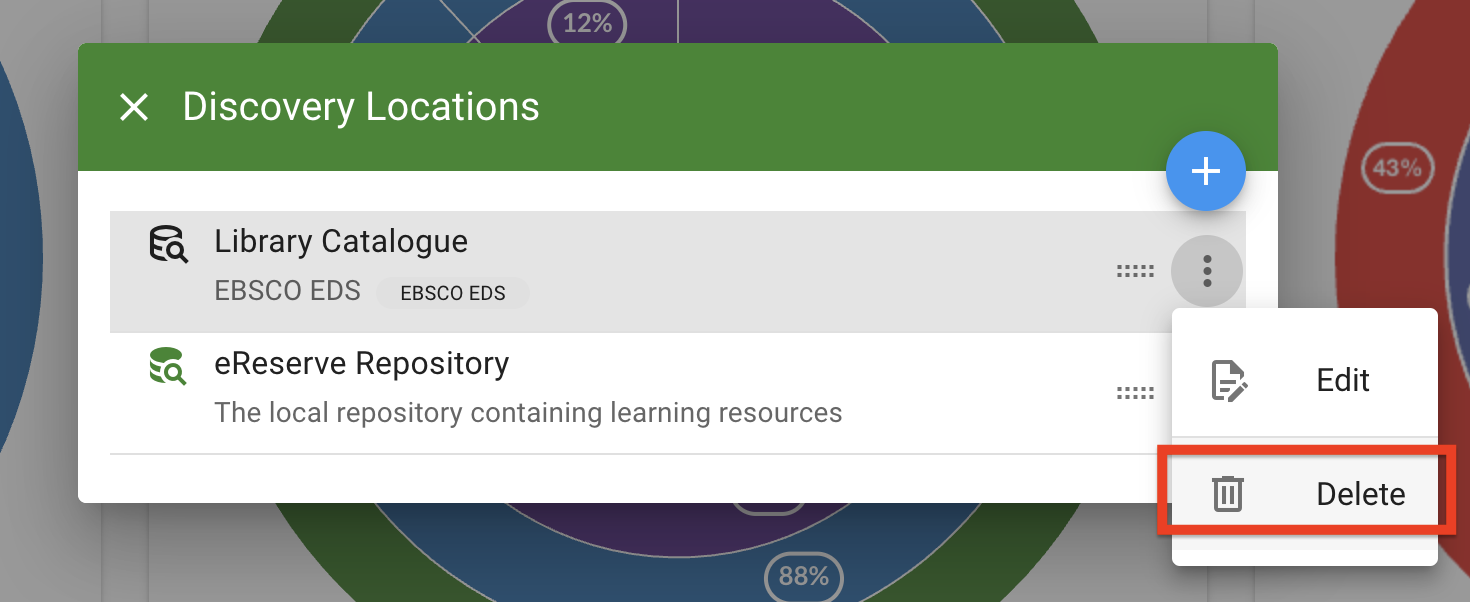
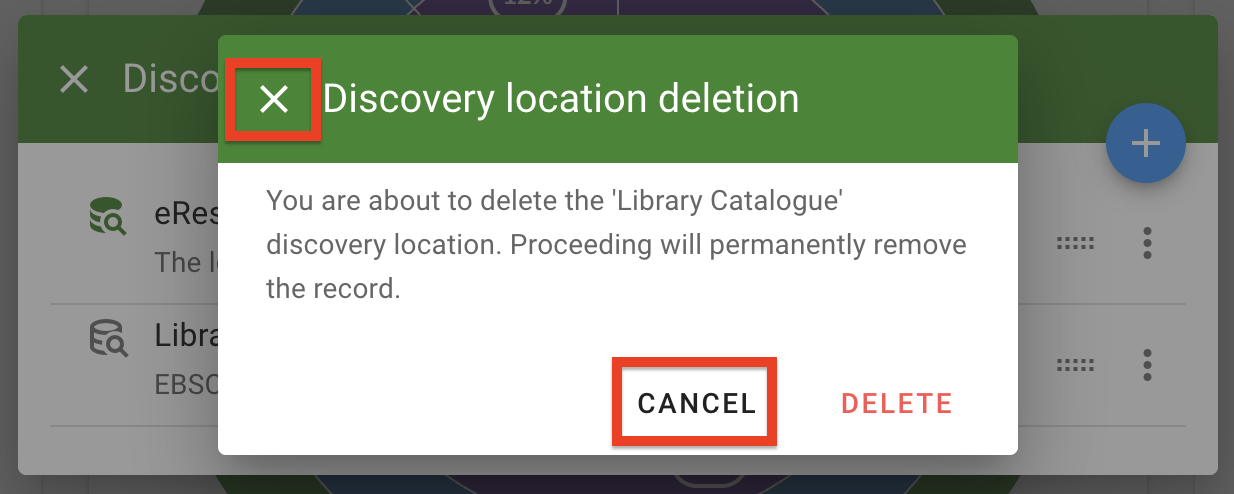
Figure 15 : The delete option for a discovery location - Please review the discovery location deletion notice, then click Delete to confirm the deletion.
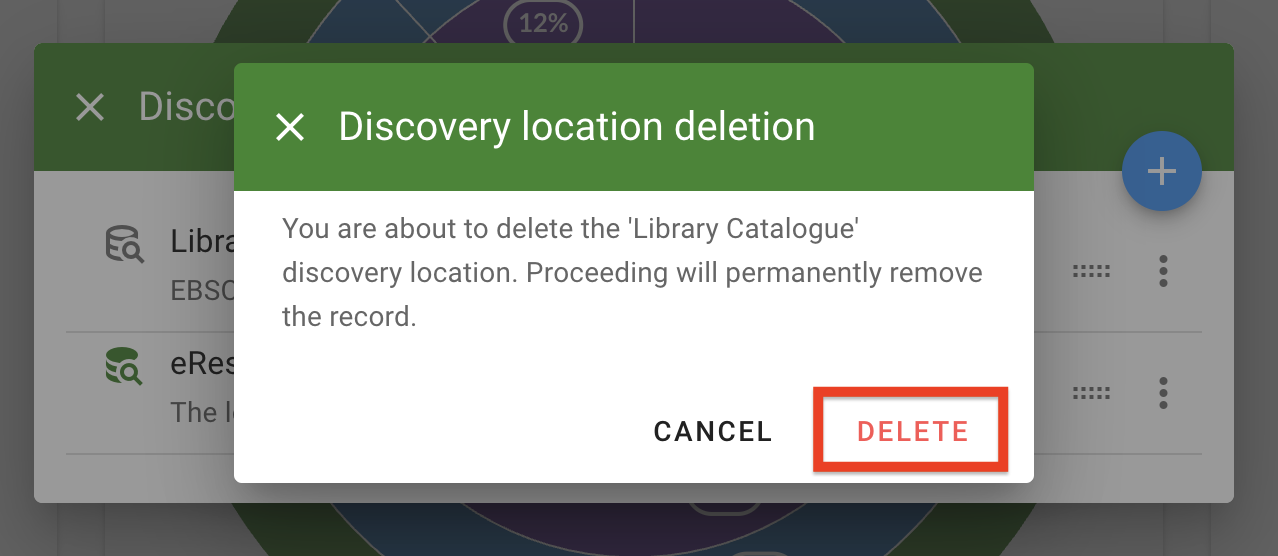
Figure 16 : The confirmation window for deleting a discovery location
The discovery location will be removed from the locations list. The related search integration will be available for selection when creating or editing discovery locations.
Click Cancel or the X on the top left of the discovery location deletion window to cancel the deletion process.
